If you're interested in mahjong tables, I've previously written an article describing the different types of mahjong table.
I bought an apartment in Osaka with enough space to install a fully automatic mahjong table.
Have you heard of Aotomo before? This table has been a joy to own.
This is the model I got.
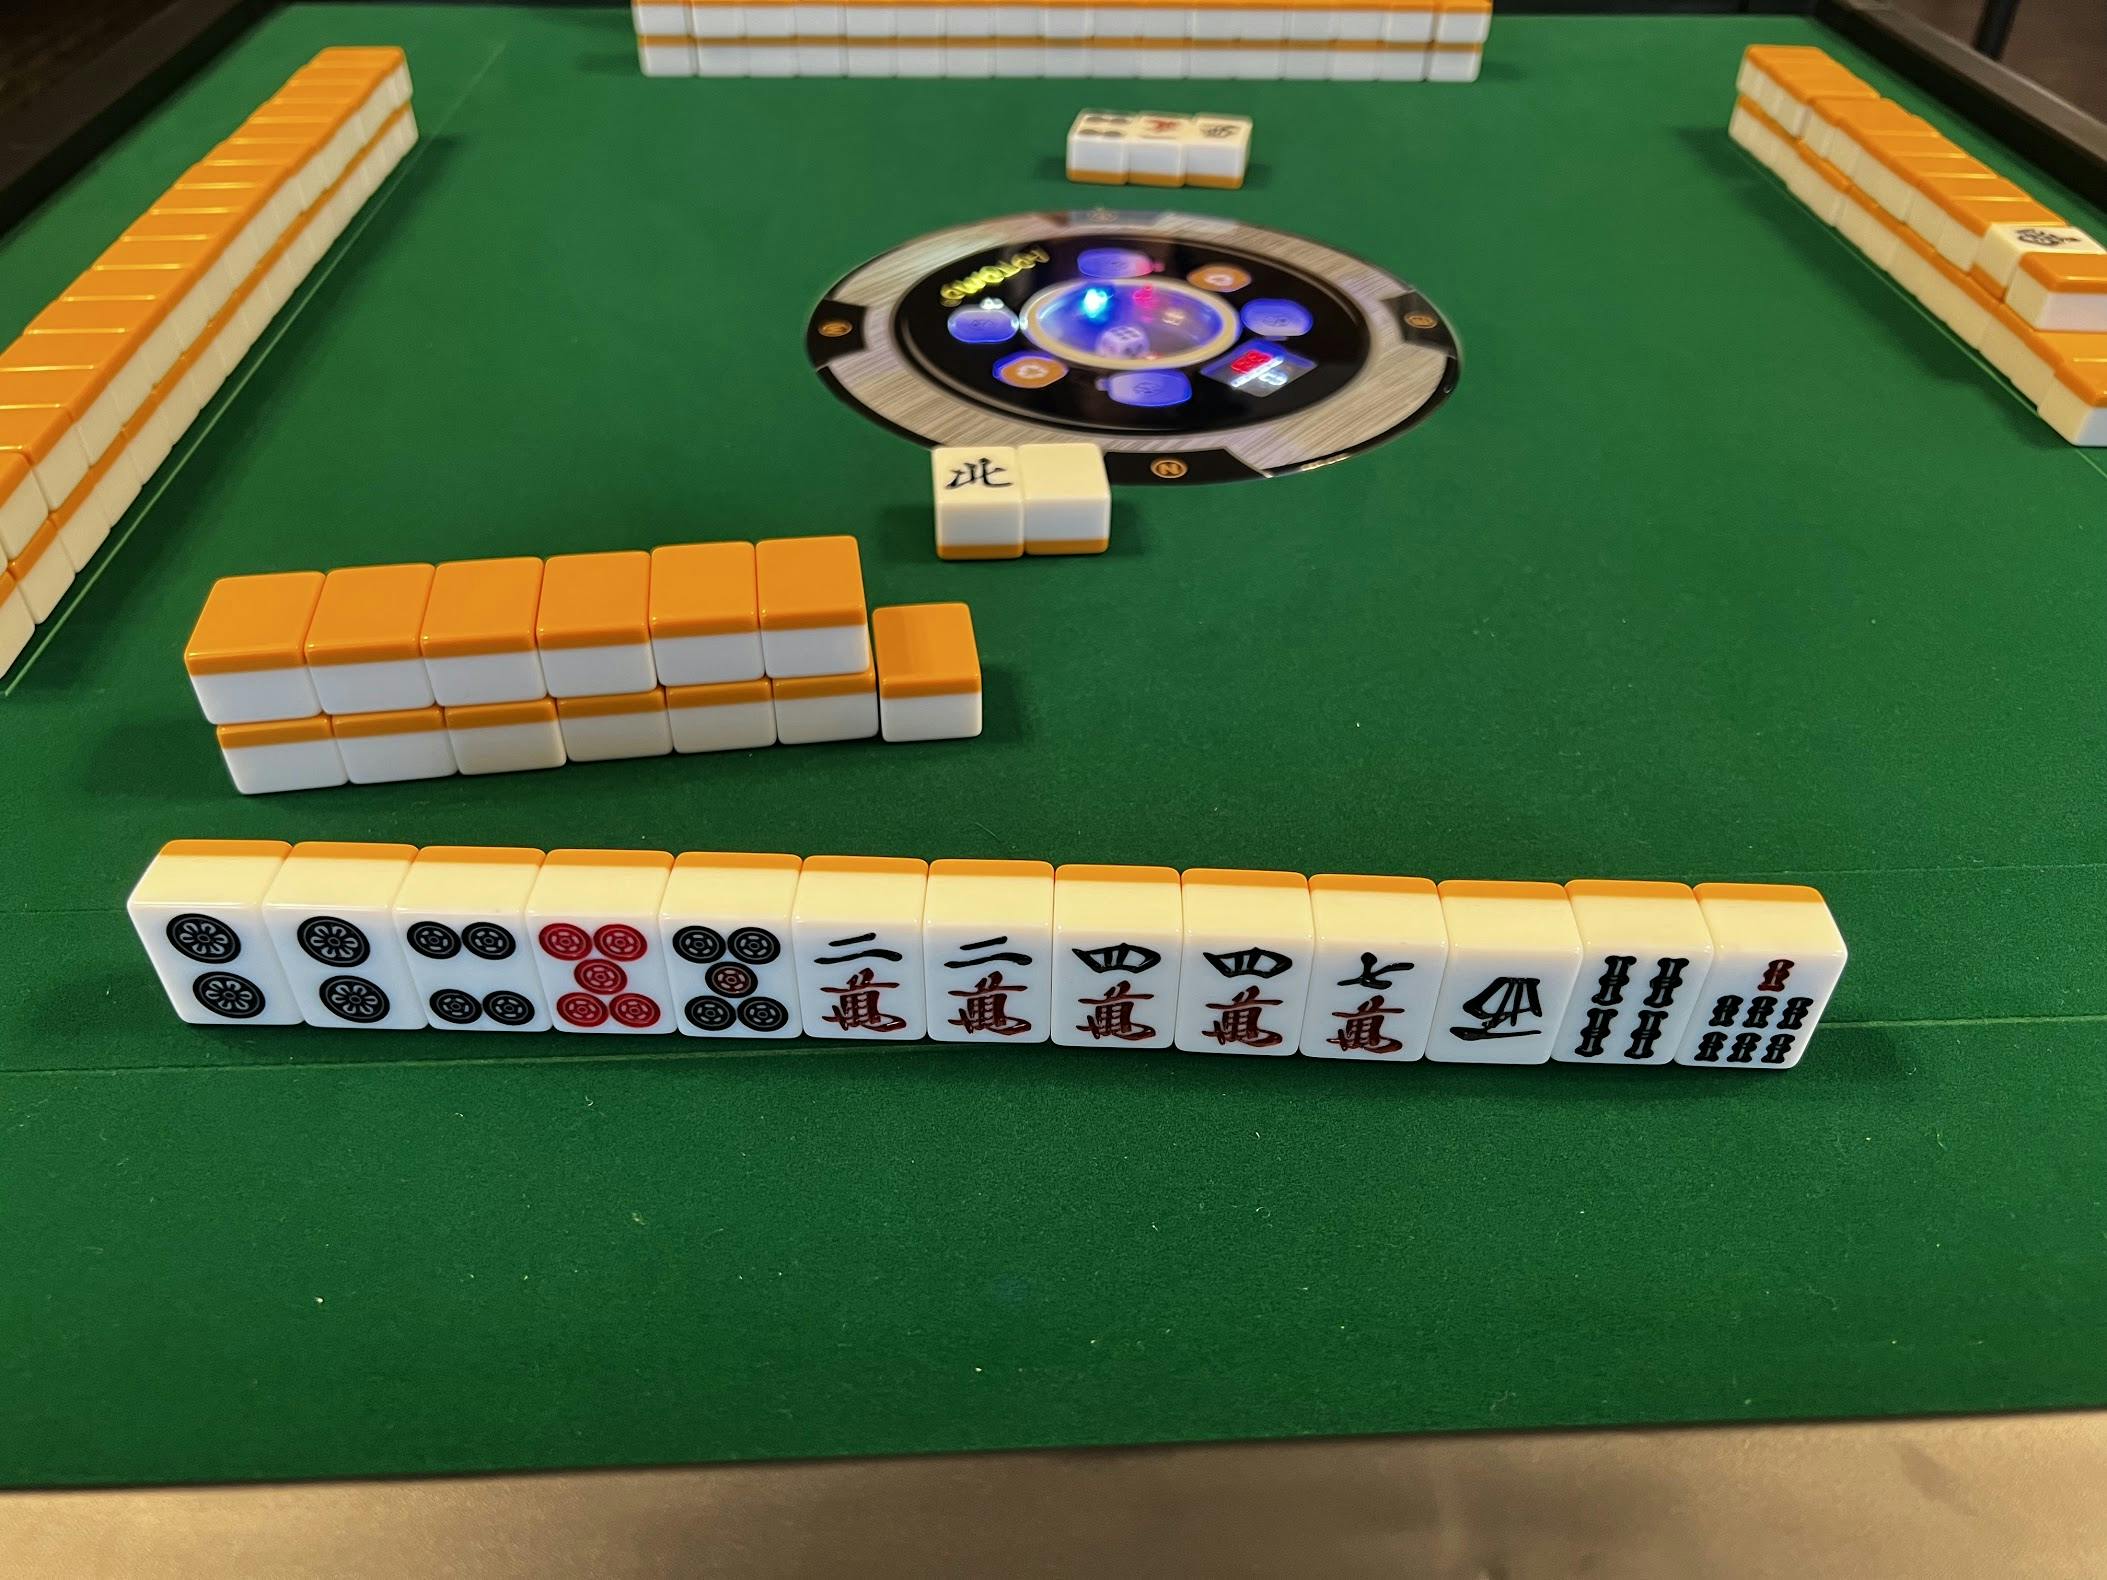
Where do Aotomo mahjong tables come from?
AOTOMO is a brand of automatic mahjong tables manufactured by Hangzhou Zhaofeng Entertainment Products.
HZEP Factory was the first factory to manufacture automatic mahjong tables in mainland China. Their experience speaks for itself.
"Wait, are you suggesting using a Chinese table for Japanese mahjong?"
Yes. Aotomo tables work excellently for Japanese mahjong. The Japanese name isn't a coincidence.
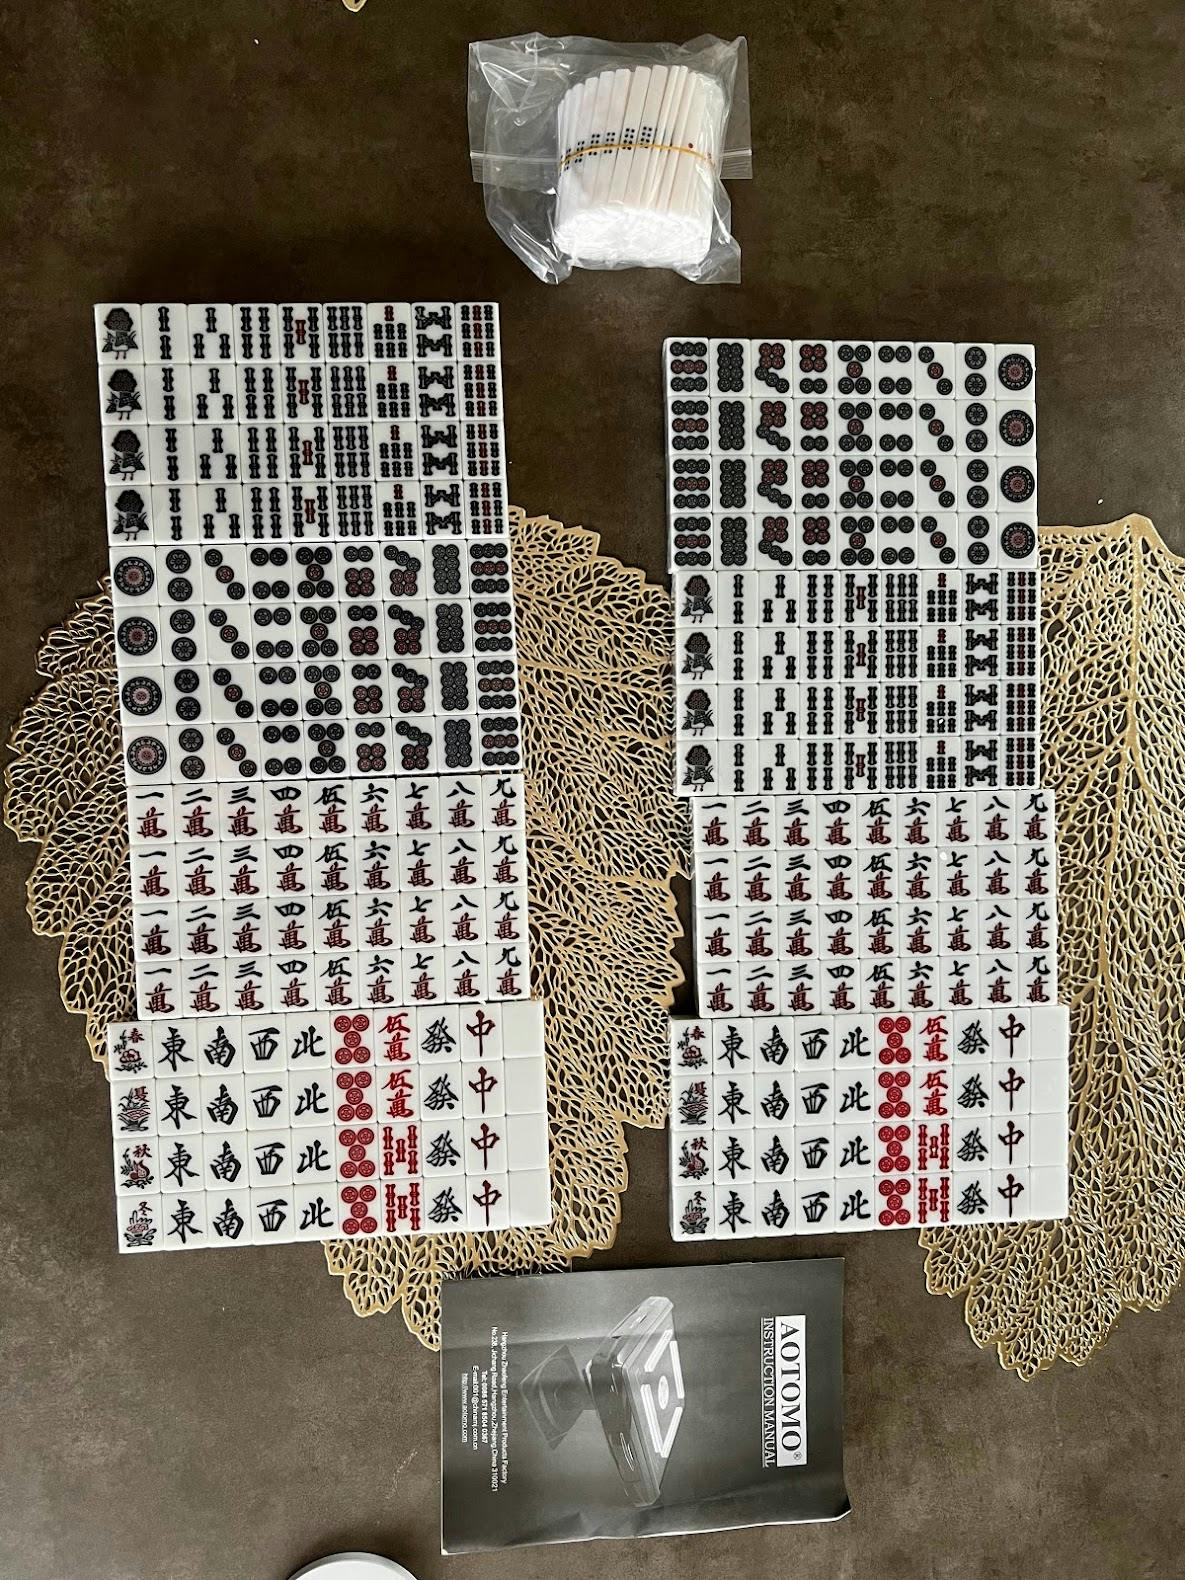
- You can order Japanese tiles with your table
- You can choose between different Japanese standard sizes
- You can program the table to build walls according to Japanese or international rulesets, including 3-player mahjong
- The table includes a renchan counter, point sticks, and a point stick drawer
- They run quietly (with a silent mode for shuffling), so I can play at night in Japan where noise expectations are strict
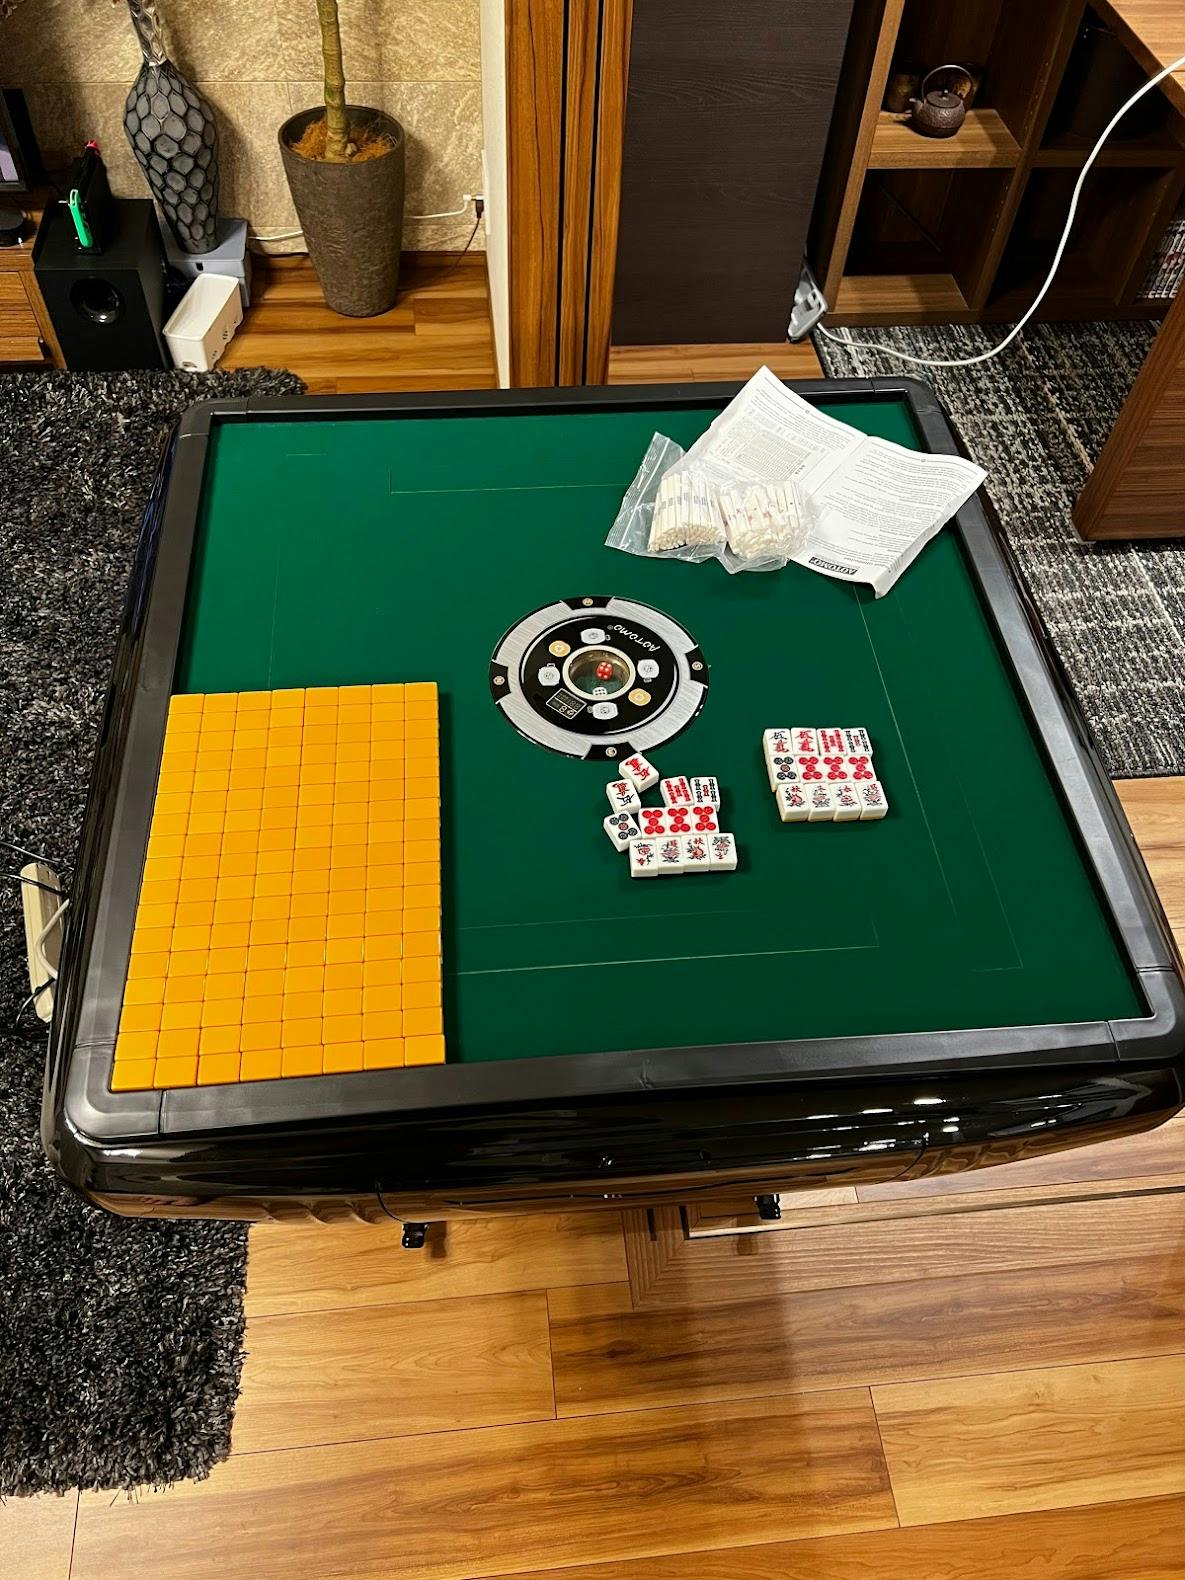
Even tables sold in Japan are partially or fully manufactured in China anyway. This one has proven durable.
How's the shipping and handling for Aotomo tables?
In one word: flawless.
My biggest concerns with importing a mahjong table were:
- customs
- damage to the table
- delivery time and tracking
Weight and size of the parcel
Total pallet weight: 68kg. The top table weighs 47kg. Shipping was reasonable despite the size.
Riichi mahjong tile size options: 28x21x16.2mm or 33x24x17.5mm
Table size: 80x80x76cm, weight: 75kg
Customs fees for the mahjong table
The delivery company used by HZEP Factory handled all documentation and sent it to me separately. I paid only 70 dollars in customs for an item this size. Smaller items shipped by major couriers have cost me more in the past.
Parcel protection for the table
I expected minor bumps or hits because of international shipping and the size and weight of the table.
Nothing. The packaging was sturdy enough that my table arrived in perfect condition. It could survive falling from a plane.
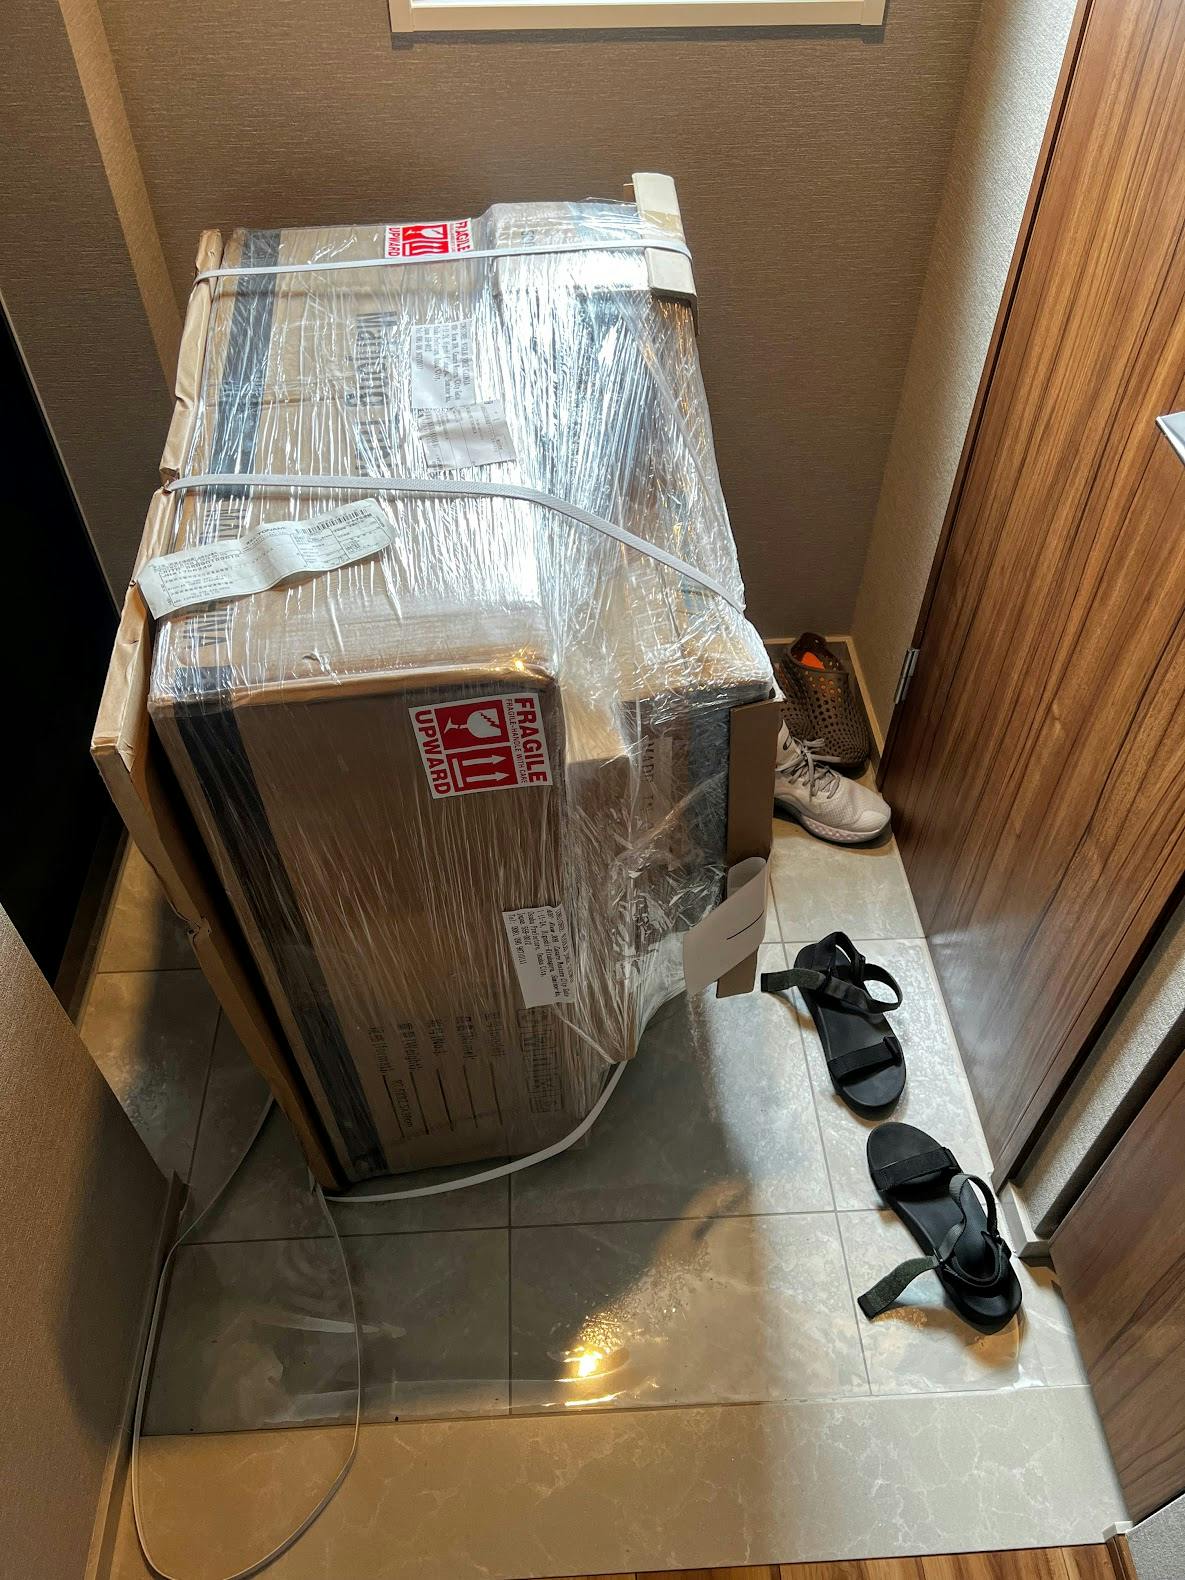
The delivery people unloaded it from the truck and into my apartment entrance.
Delivery time from China
I live in Japan. Proximity to China means faster shipping, so I can't speak for other countries. Other international parcels were taking around 1 month (possibly because of COVID19 logistics).
The table arrived in only 2 weeks from the Hangzhou factory. Tracking worked the whole way.
Assembling the Aotomo mahjong table
I've worked with mahjong tables for the latter half of my life, but I had never put together an automatic mahjong table from scratch.
I mentally prepared for a long evening of work.
The table was simple to assemble.
Many times I doubted myself, thinking "is this too easy?" and spent extra time second-guessing. Yes, it's straightforward.
Aotomo table parts
After receiving the parcel, I looked at the different parts included.
The moving bits, a wrench, and manual:
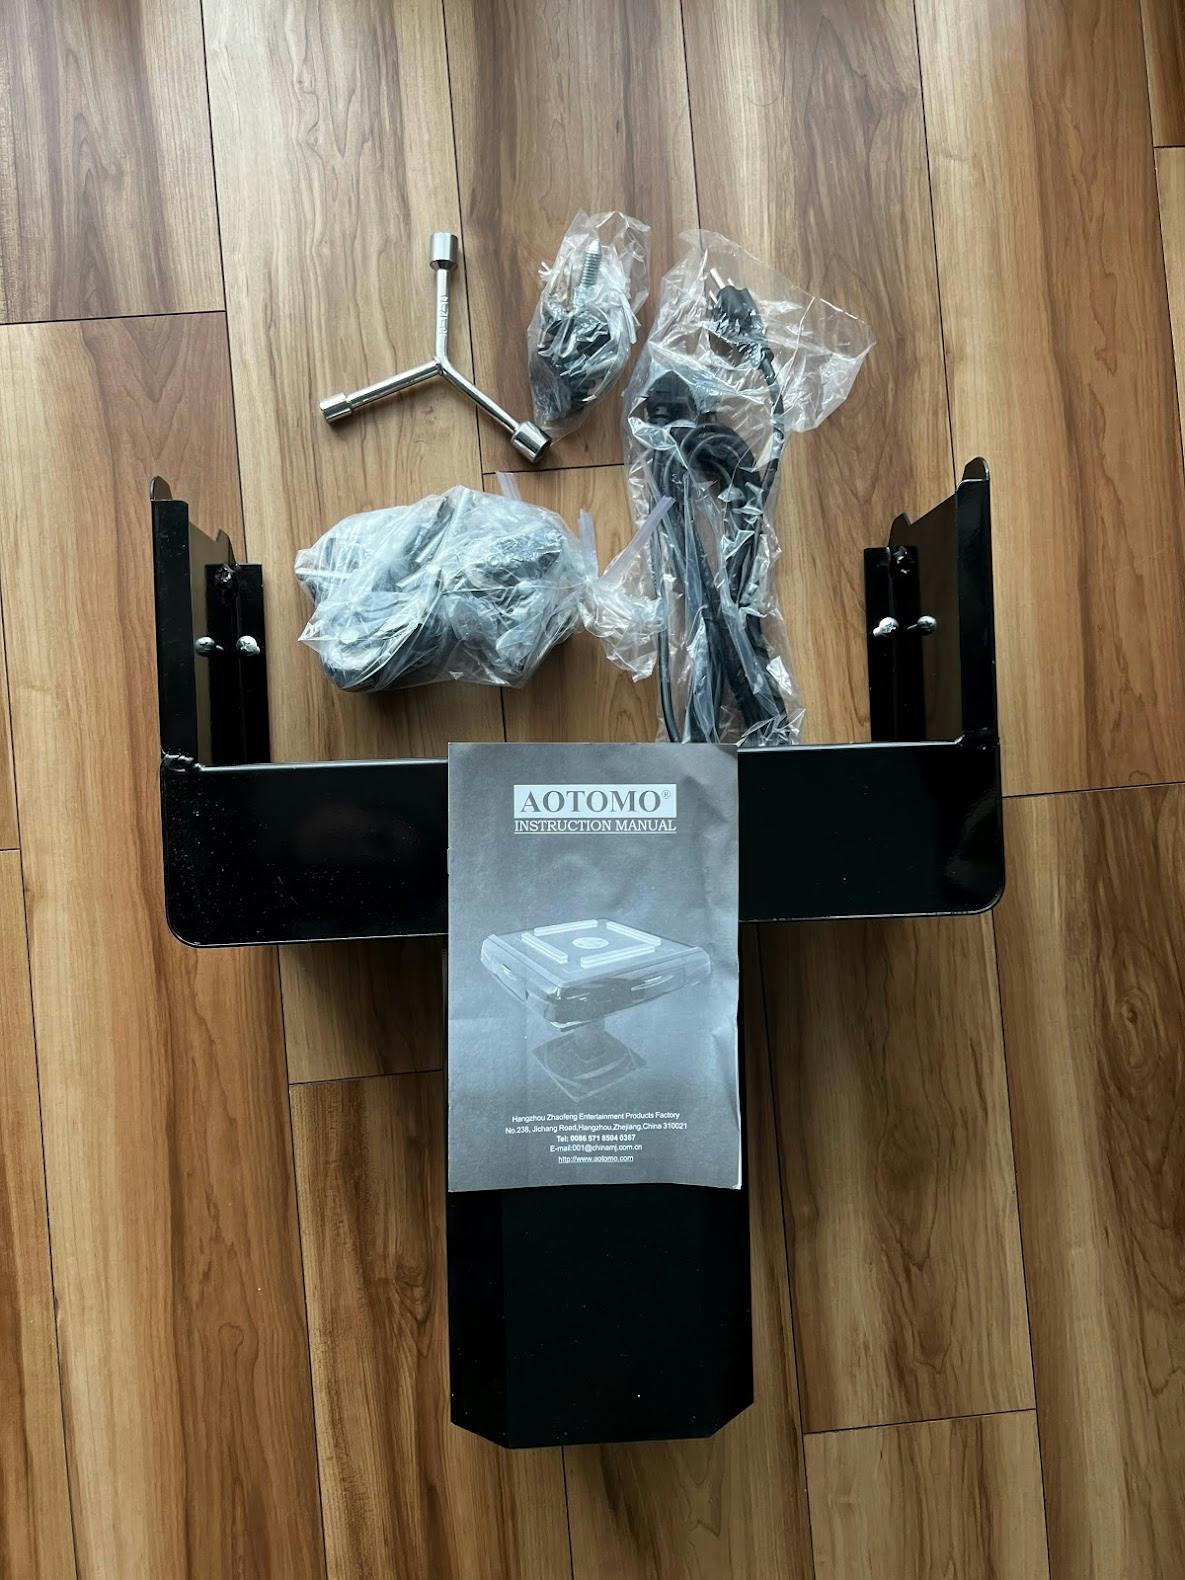
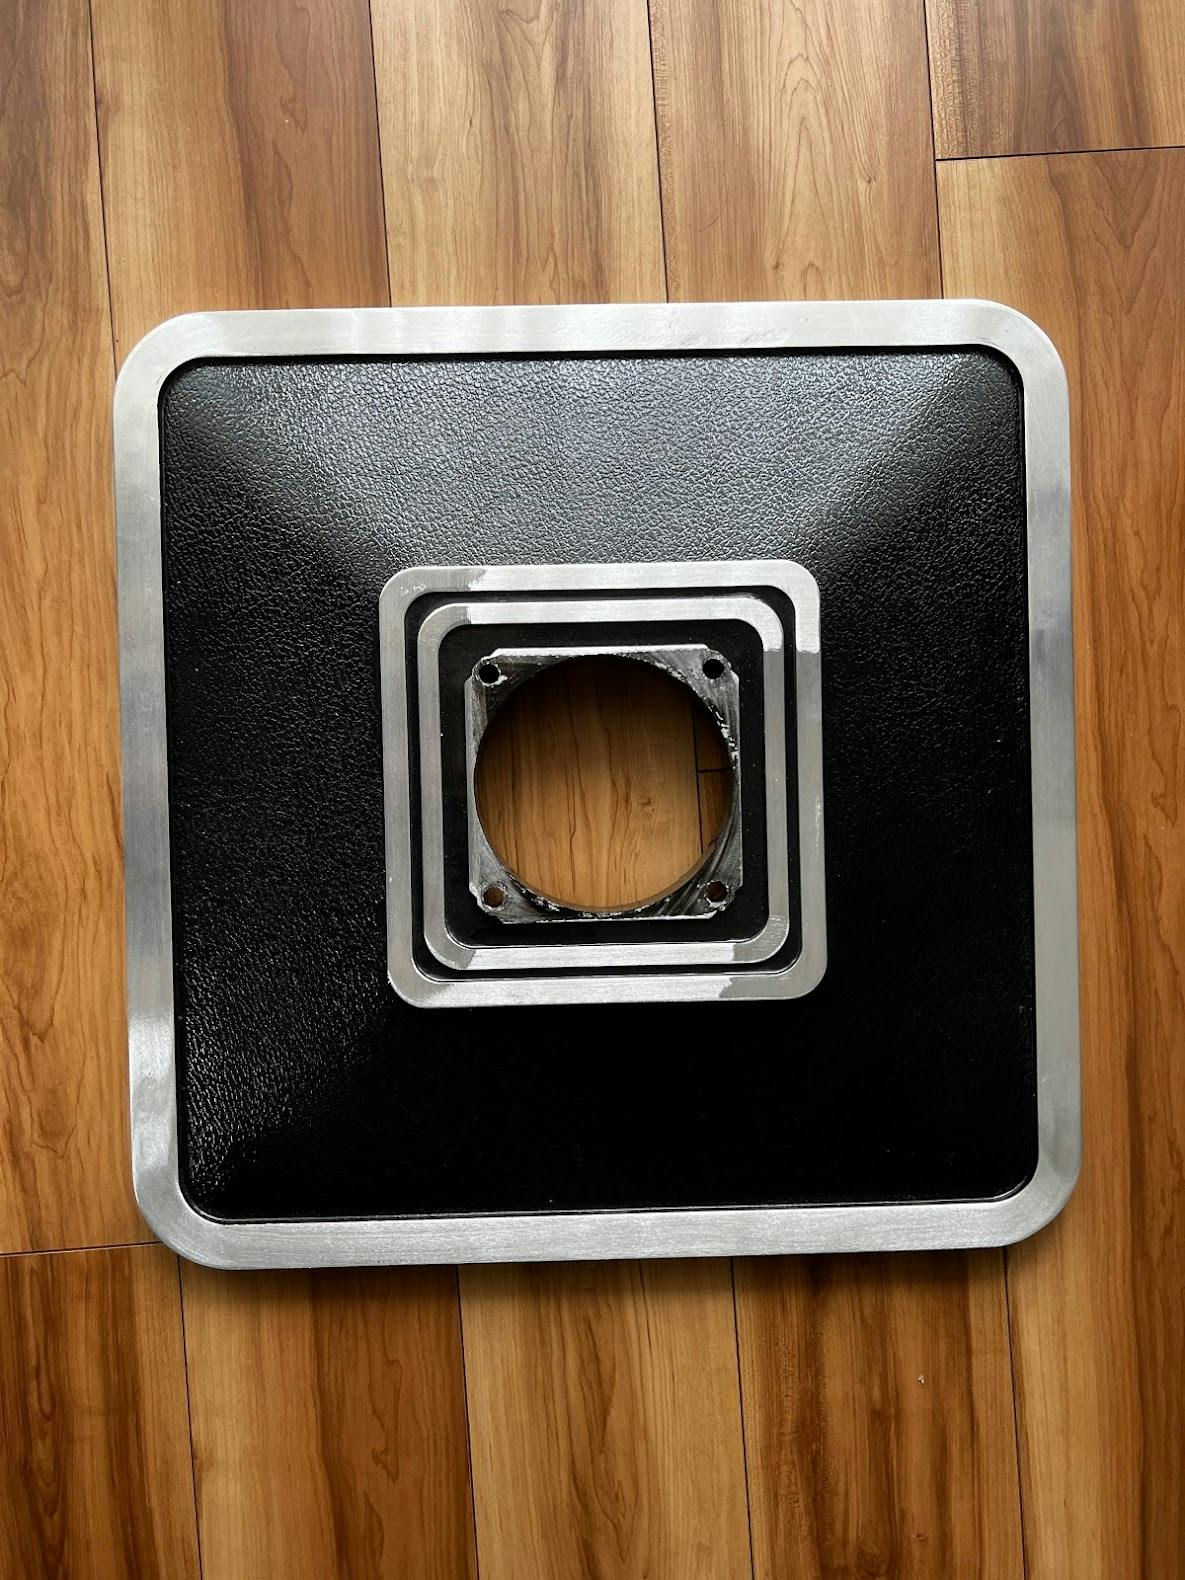
The base (sturdy and important):
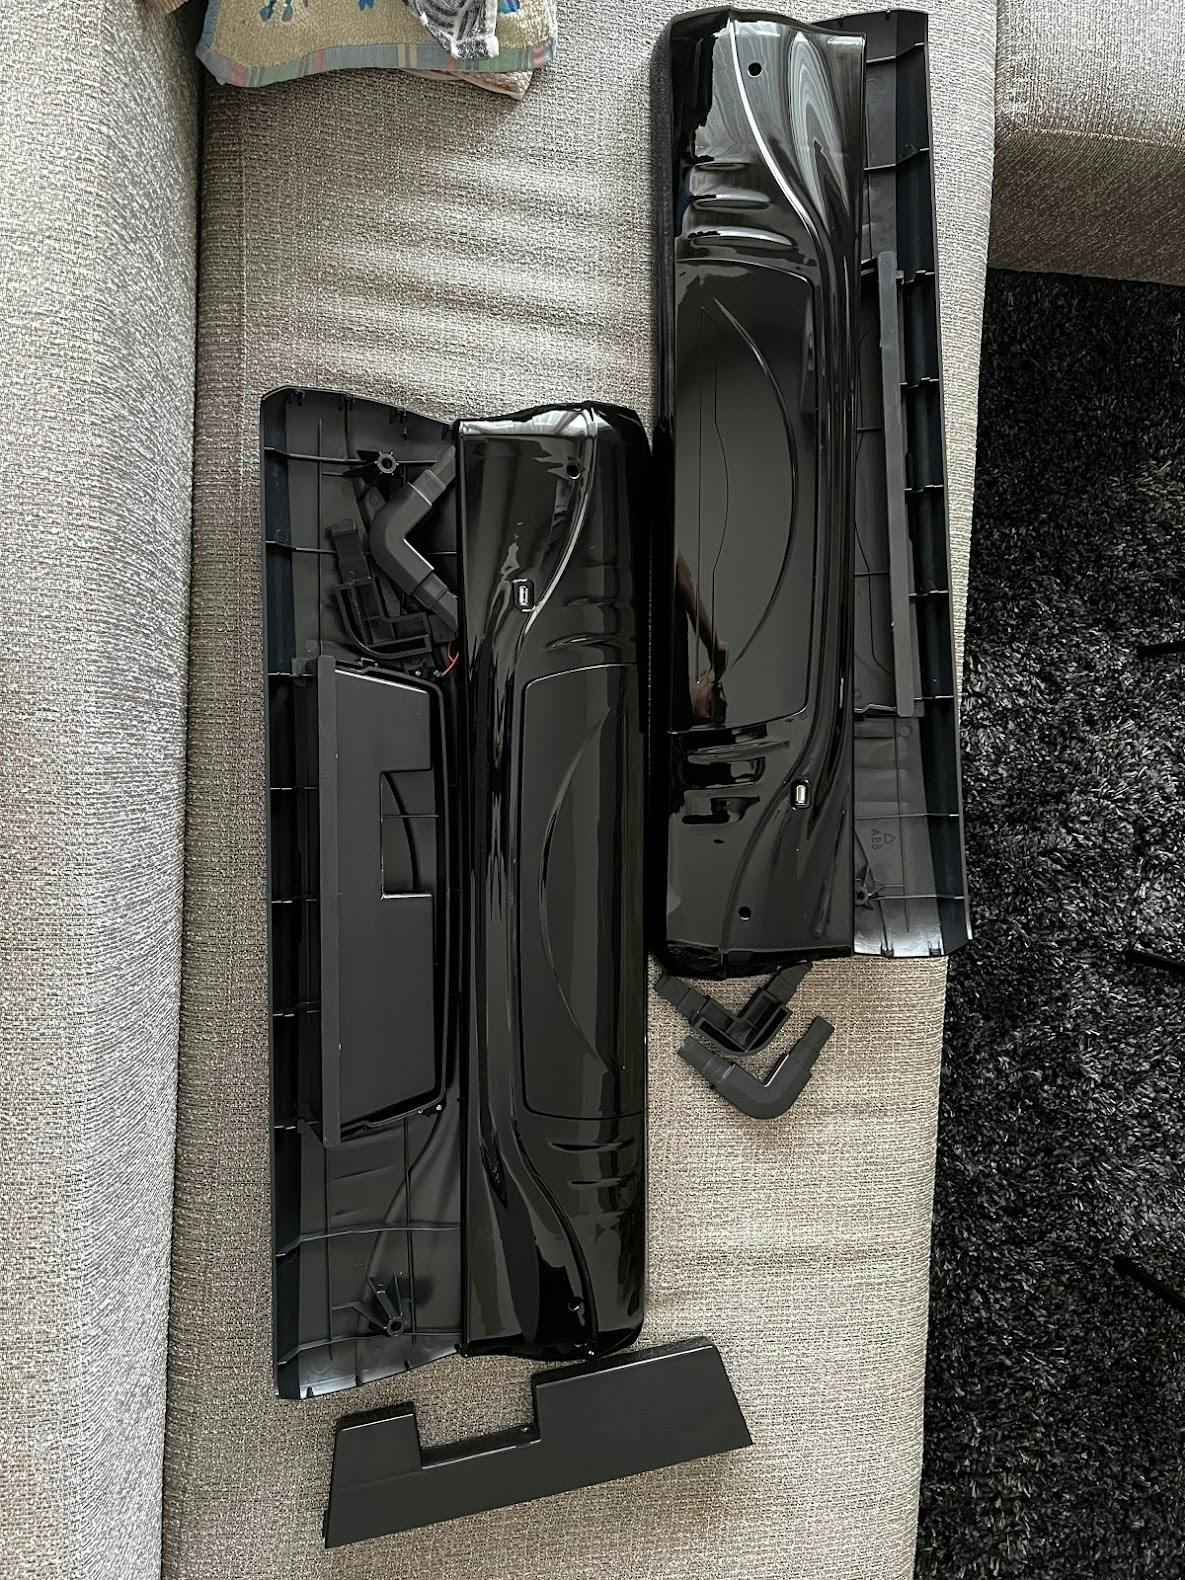
Drawers for points:
Point sticks and Japanese style magnetic tiles (manual for size reference):
All the moving parts:
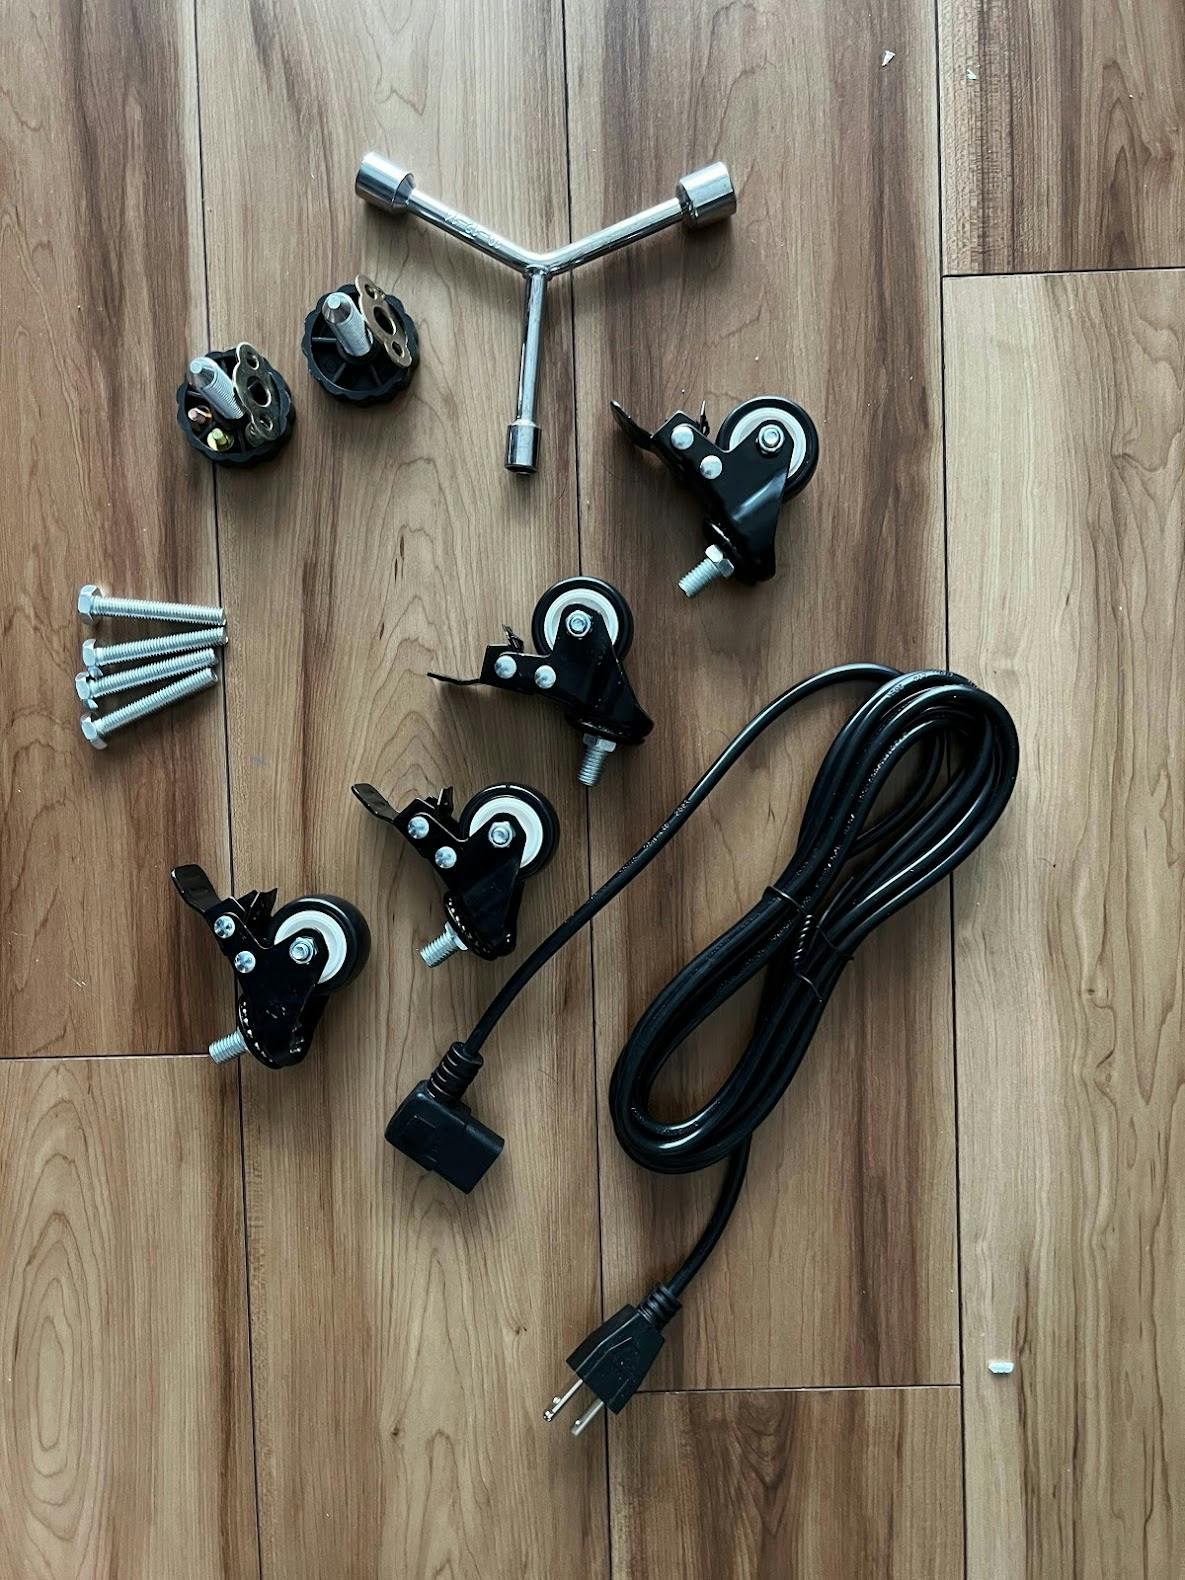
These are the only moving bits. Everything else comes pre-assembled.
Putting together the Aotomo table
I won't go into too much detail because the process is intuitive. Putting the table together took me less than 20 minutes after figuring out how each piece fit.
First, the base
I like to start with the base when assembling furniture. Same deal here.
Attach these wheels to the base:
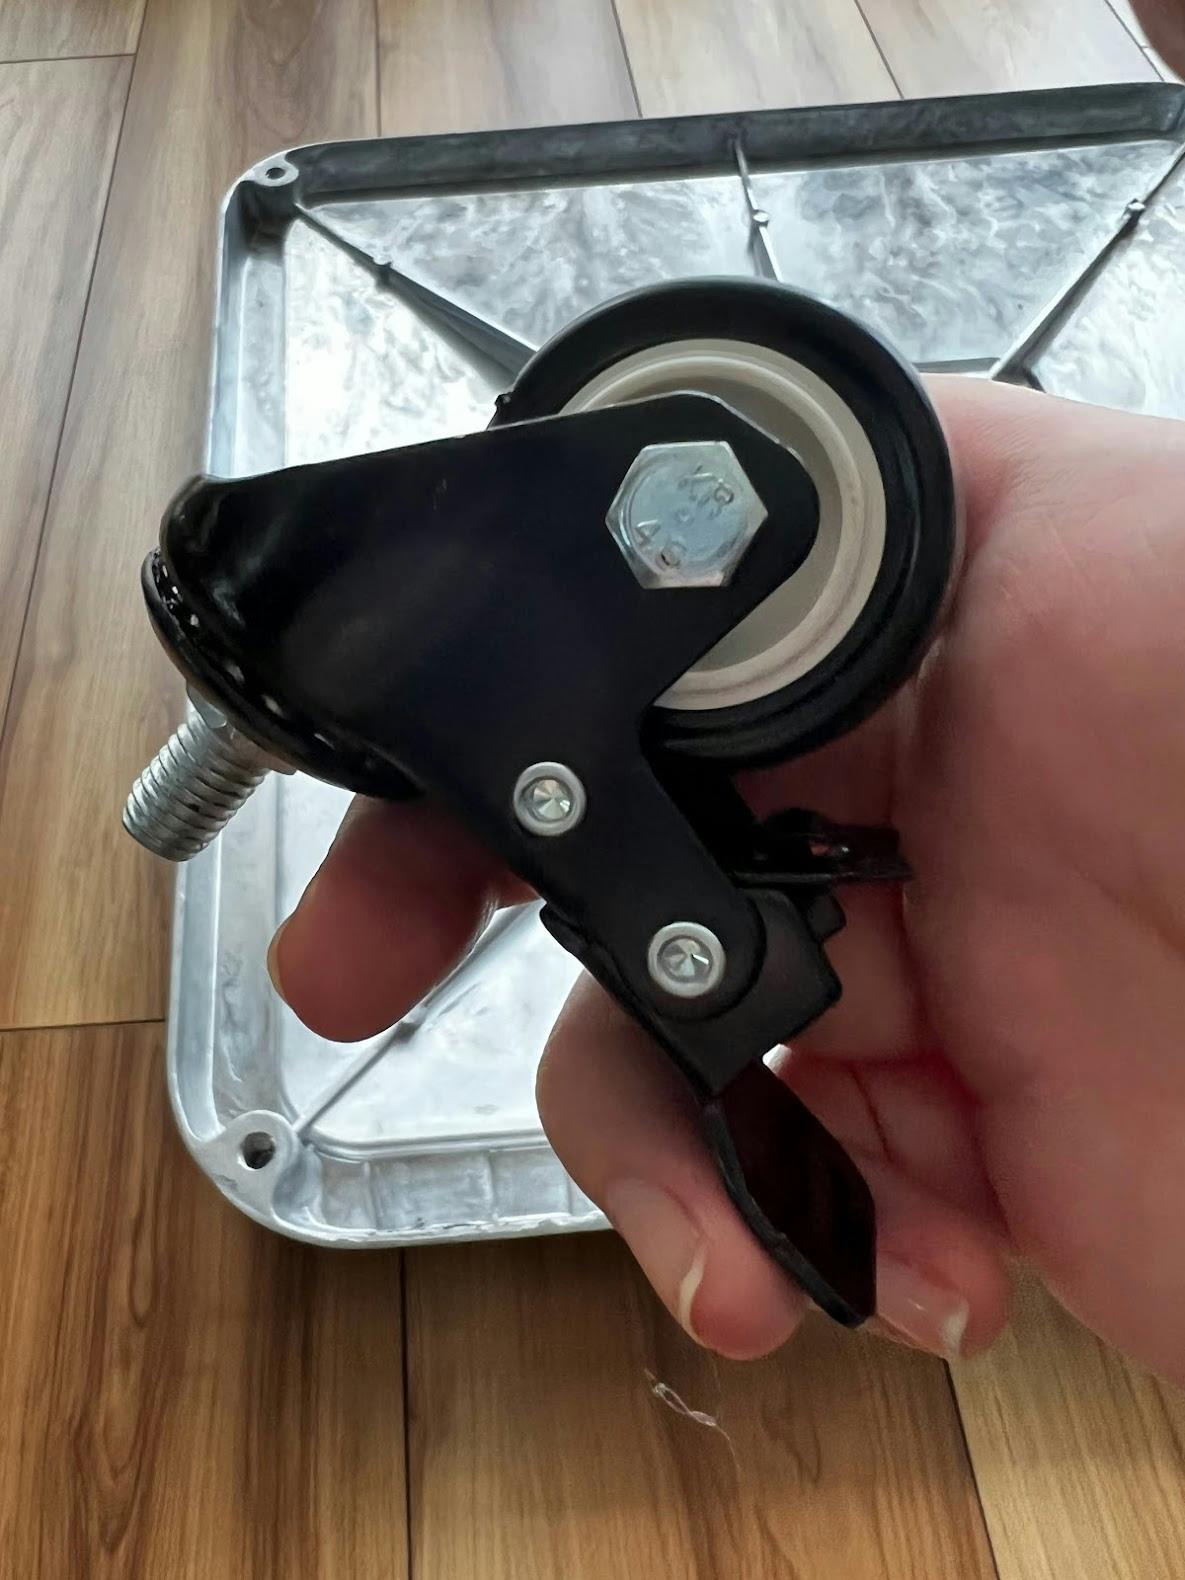
If you've assembled a gaming or office chair, this will be familiar. Push them until they fit.
Next, secure the table holding piece (the big metal piece) to the base. This holds the table in place.
A wrench and big bolts are included:
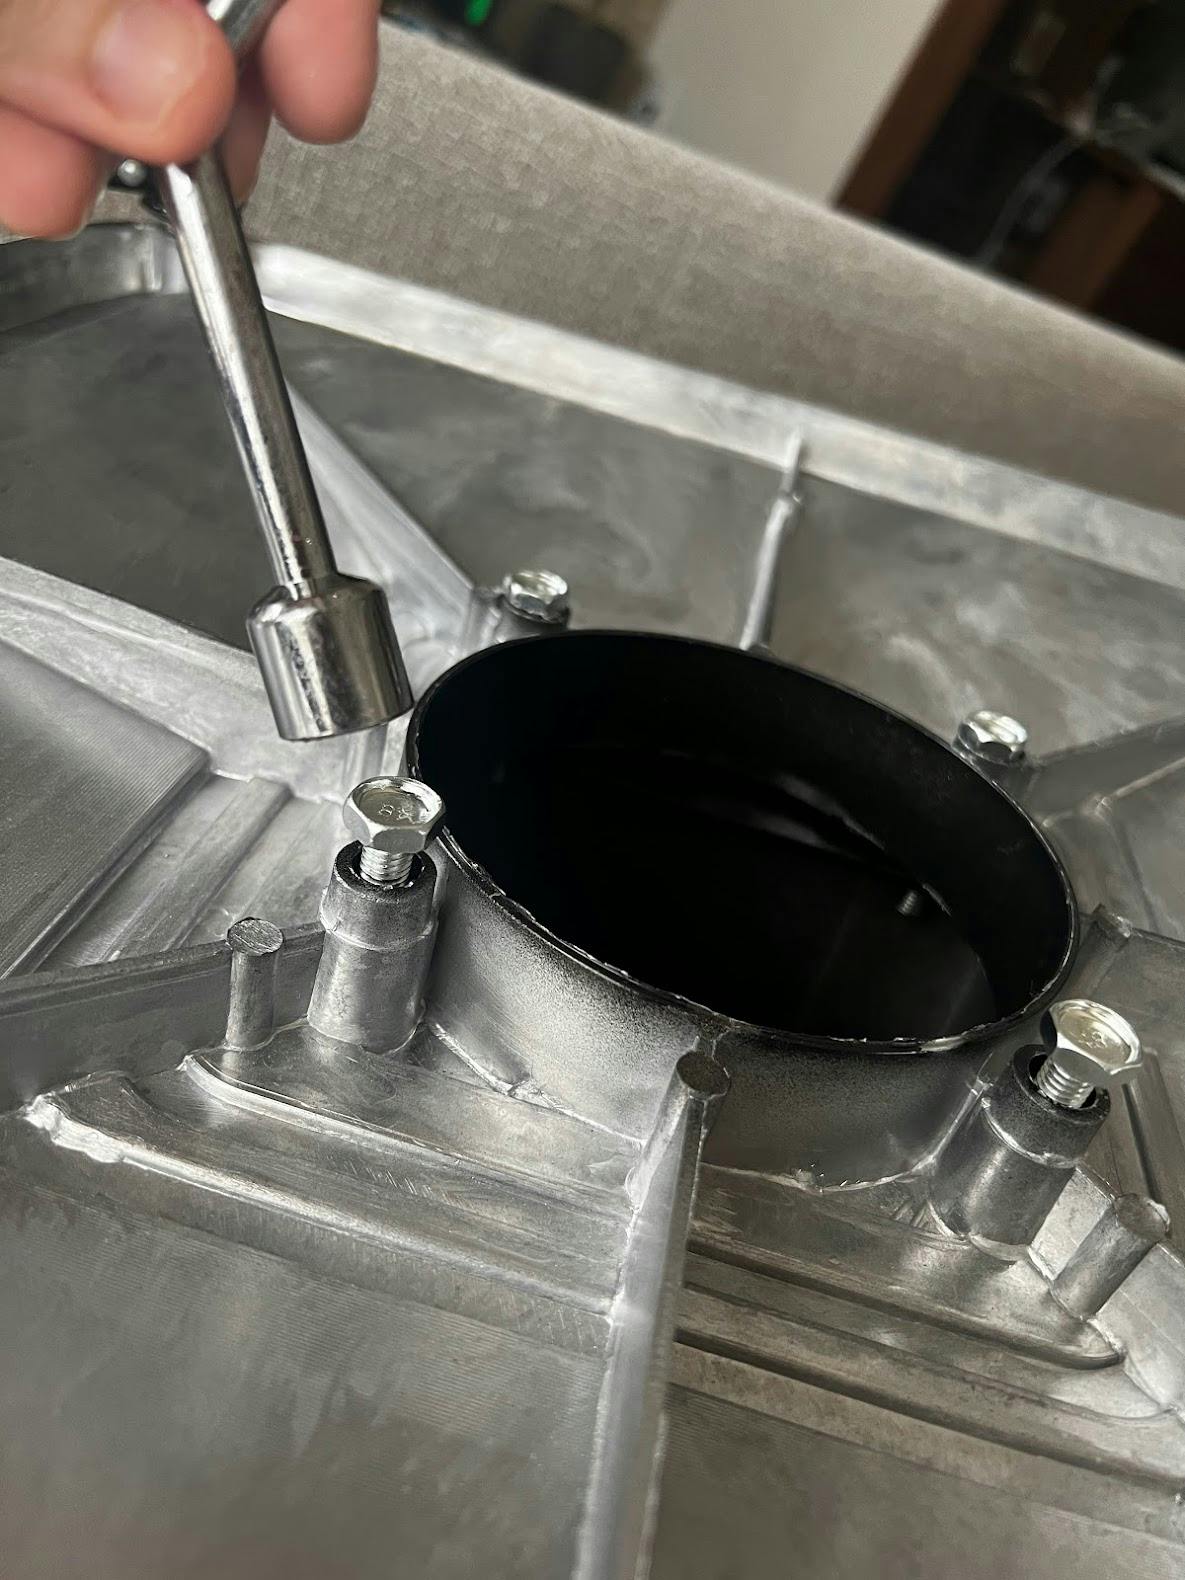
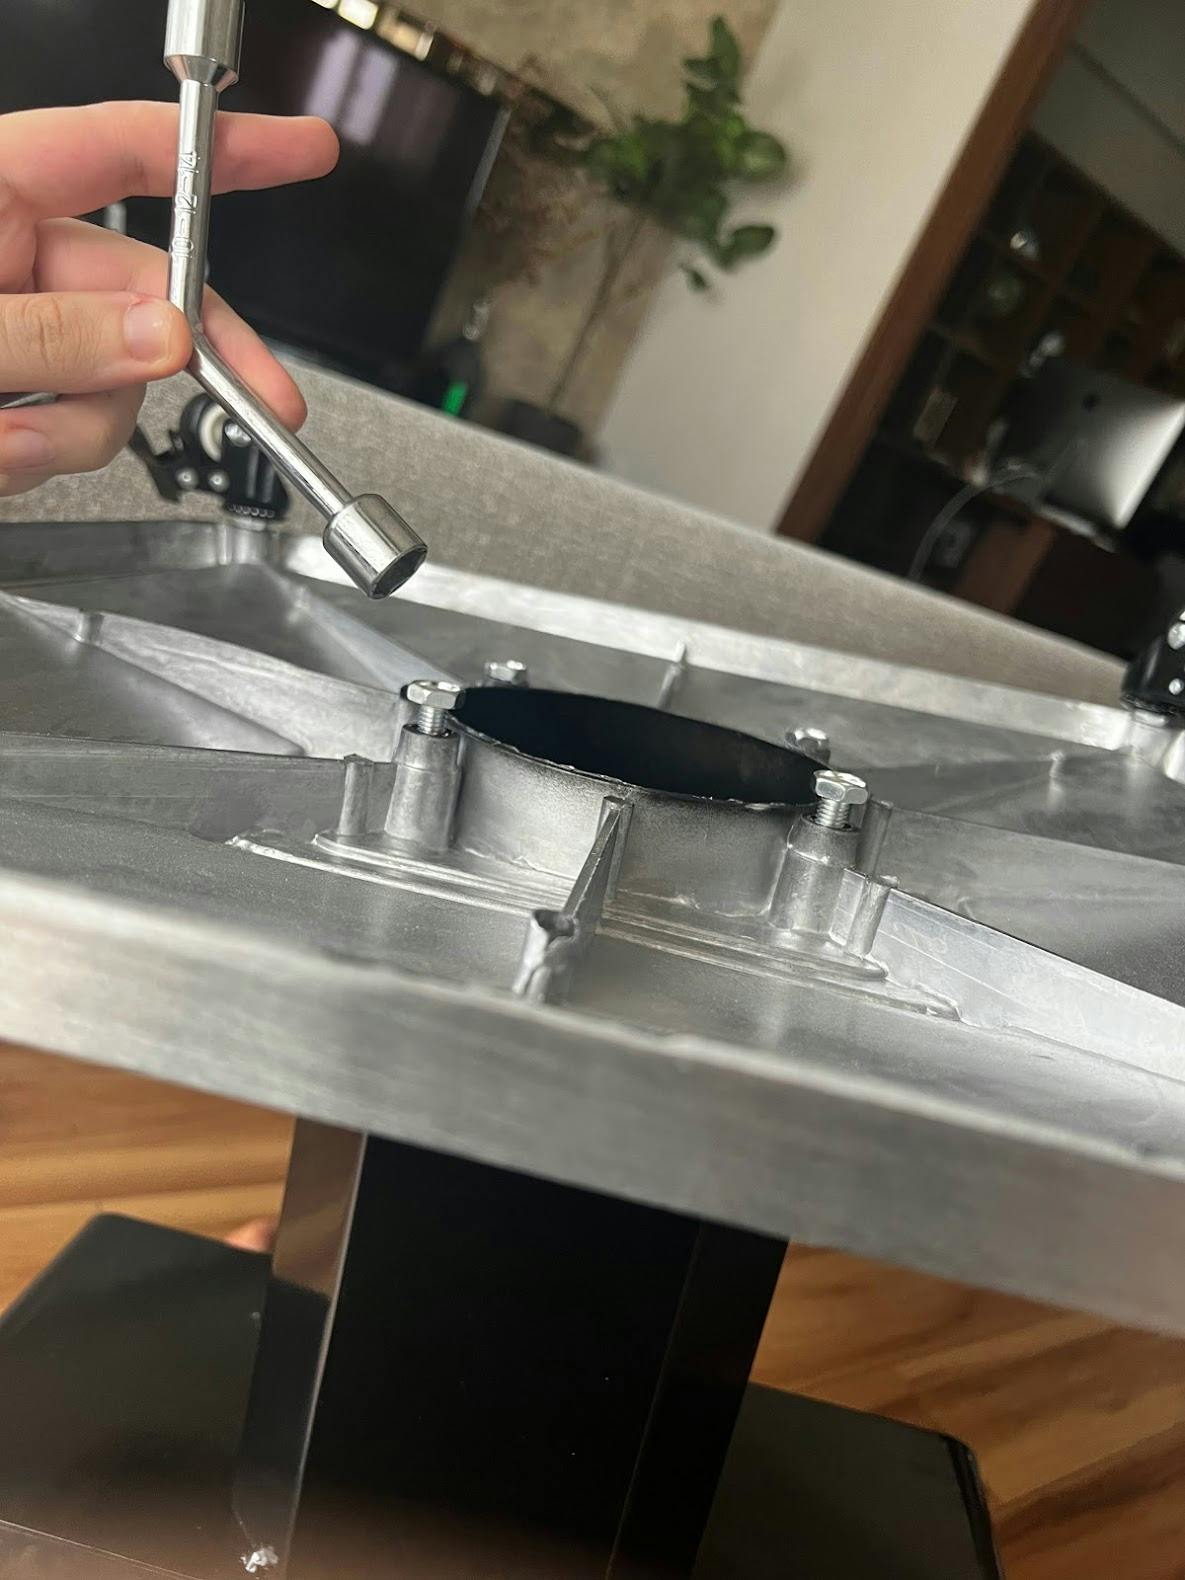
After securing this piece to the base, you should have something like this:
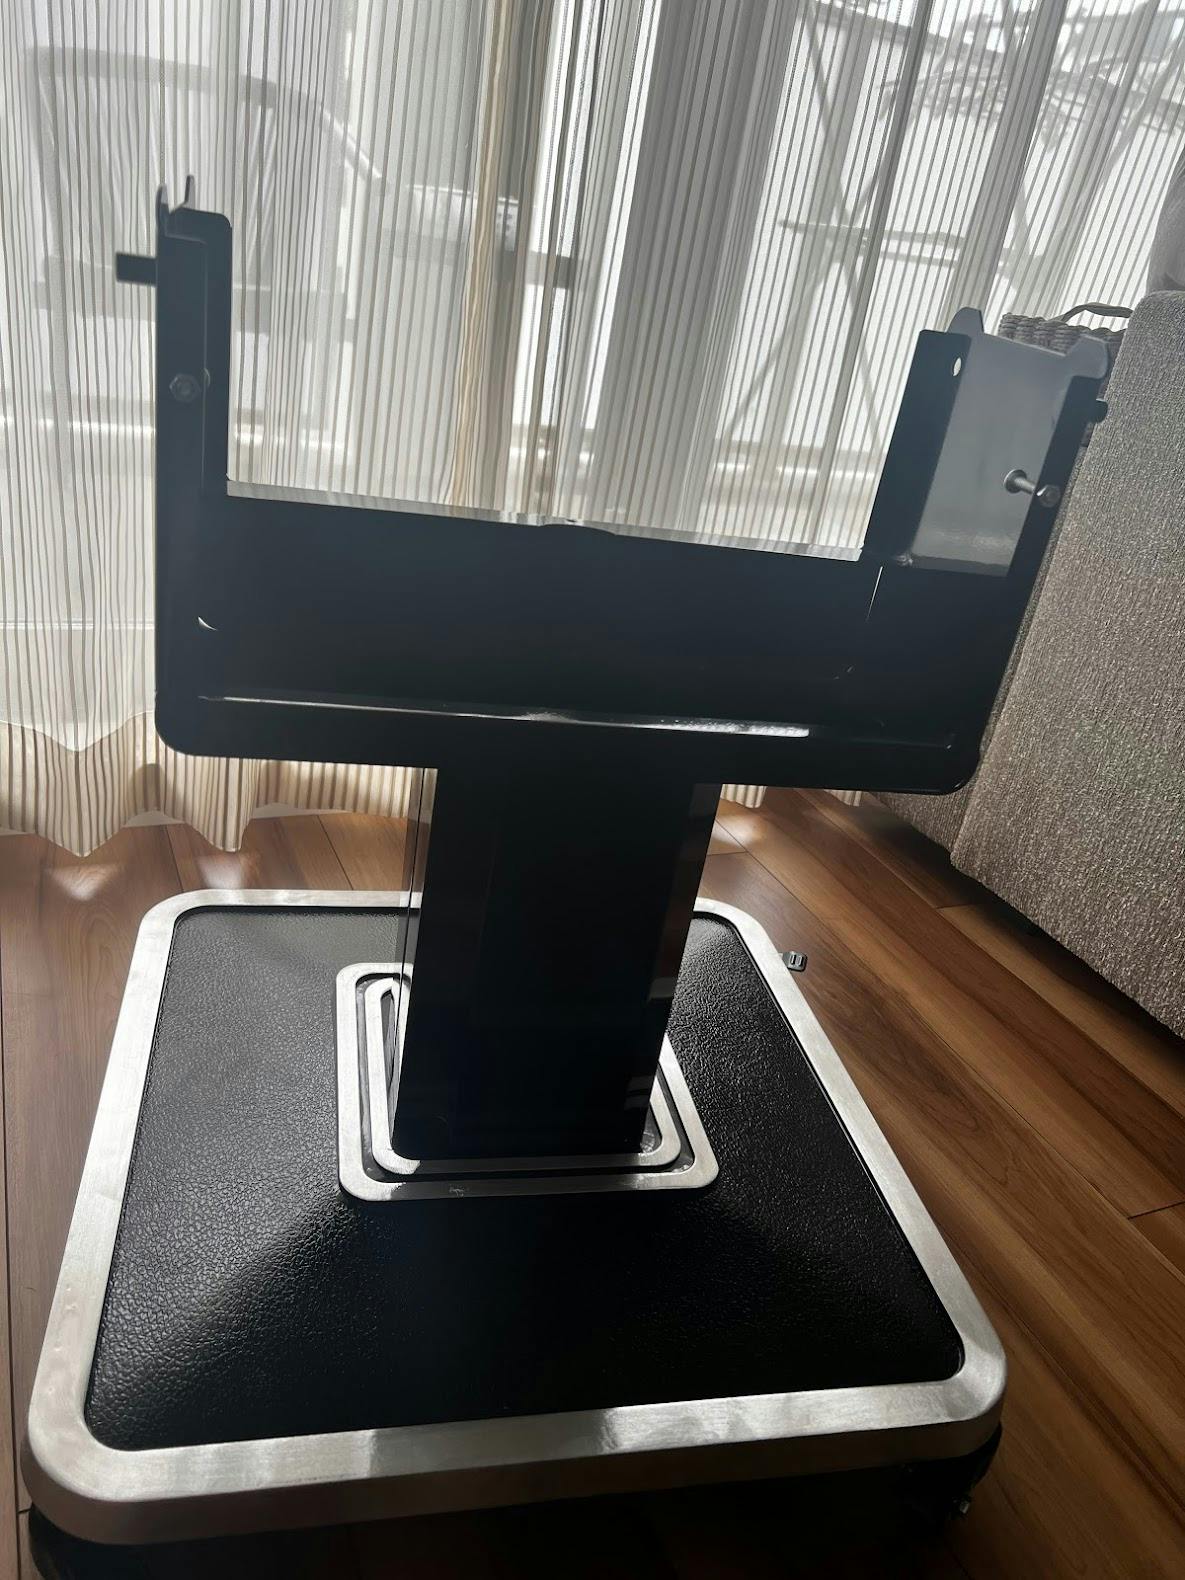
That's the most important part of the preparation.
Mounting the table
This is the only difficult part. You'll need physical strength to pick up the electronic piece of the table and place it on top of the base. Make sure the pins at the bottom of the shuffler match the hedges on the base.
Then set up the rotators around the pins and the handle on the hole beside it:
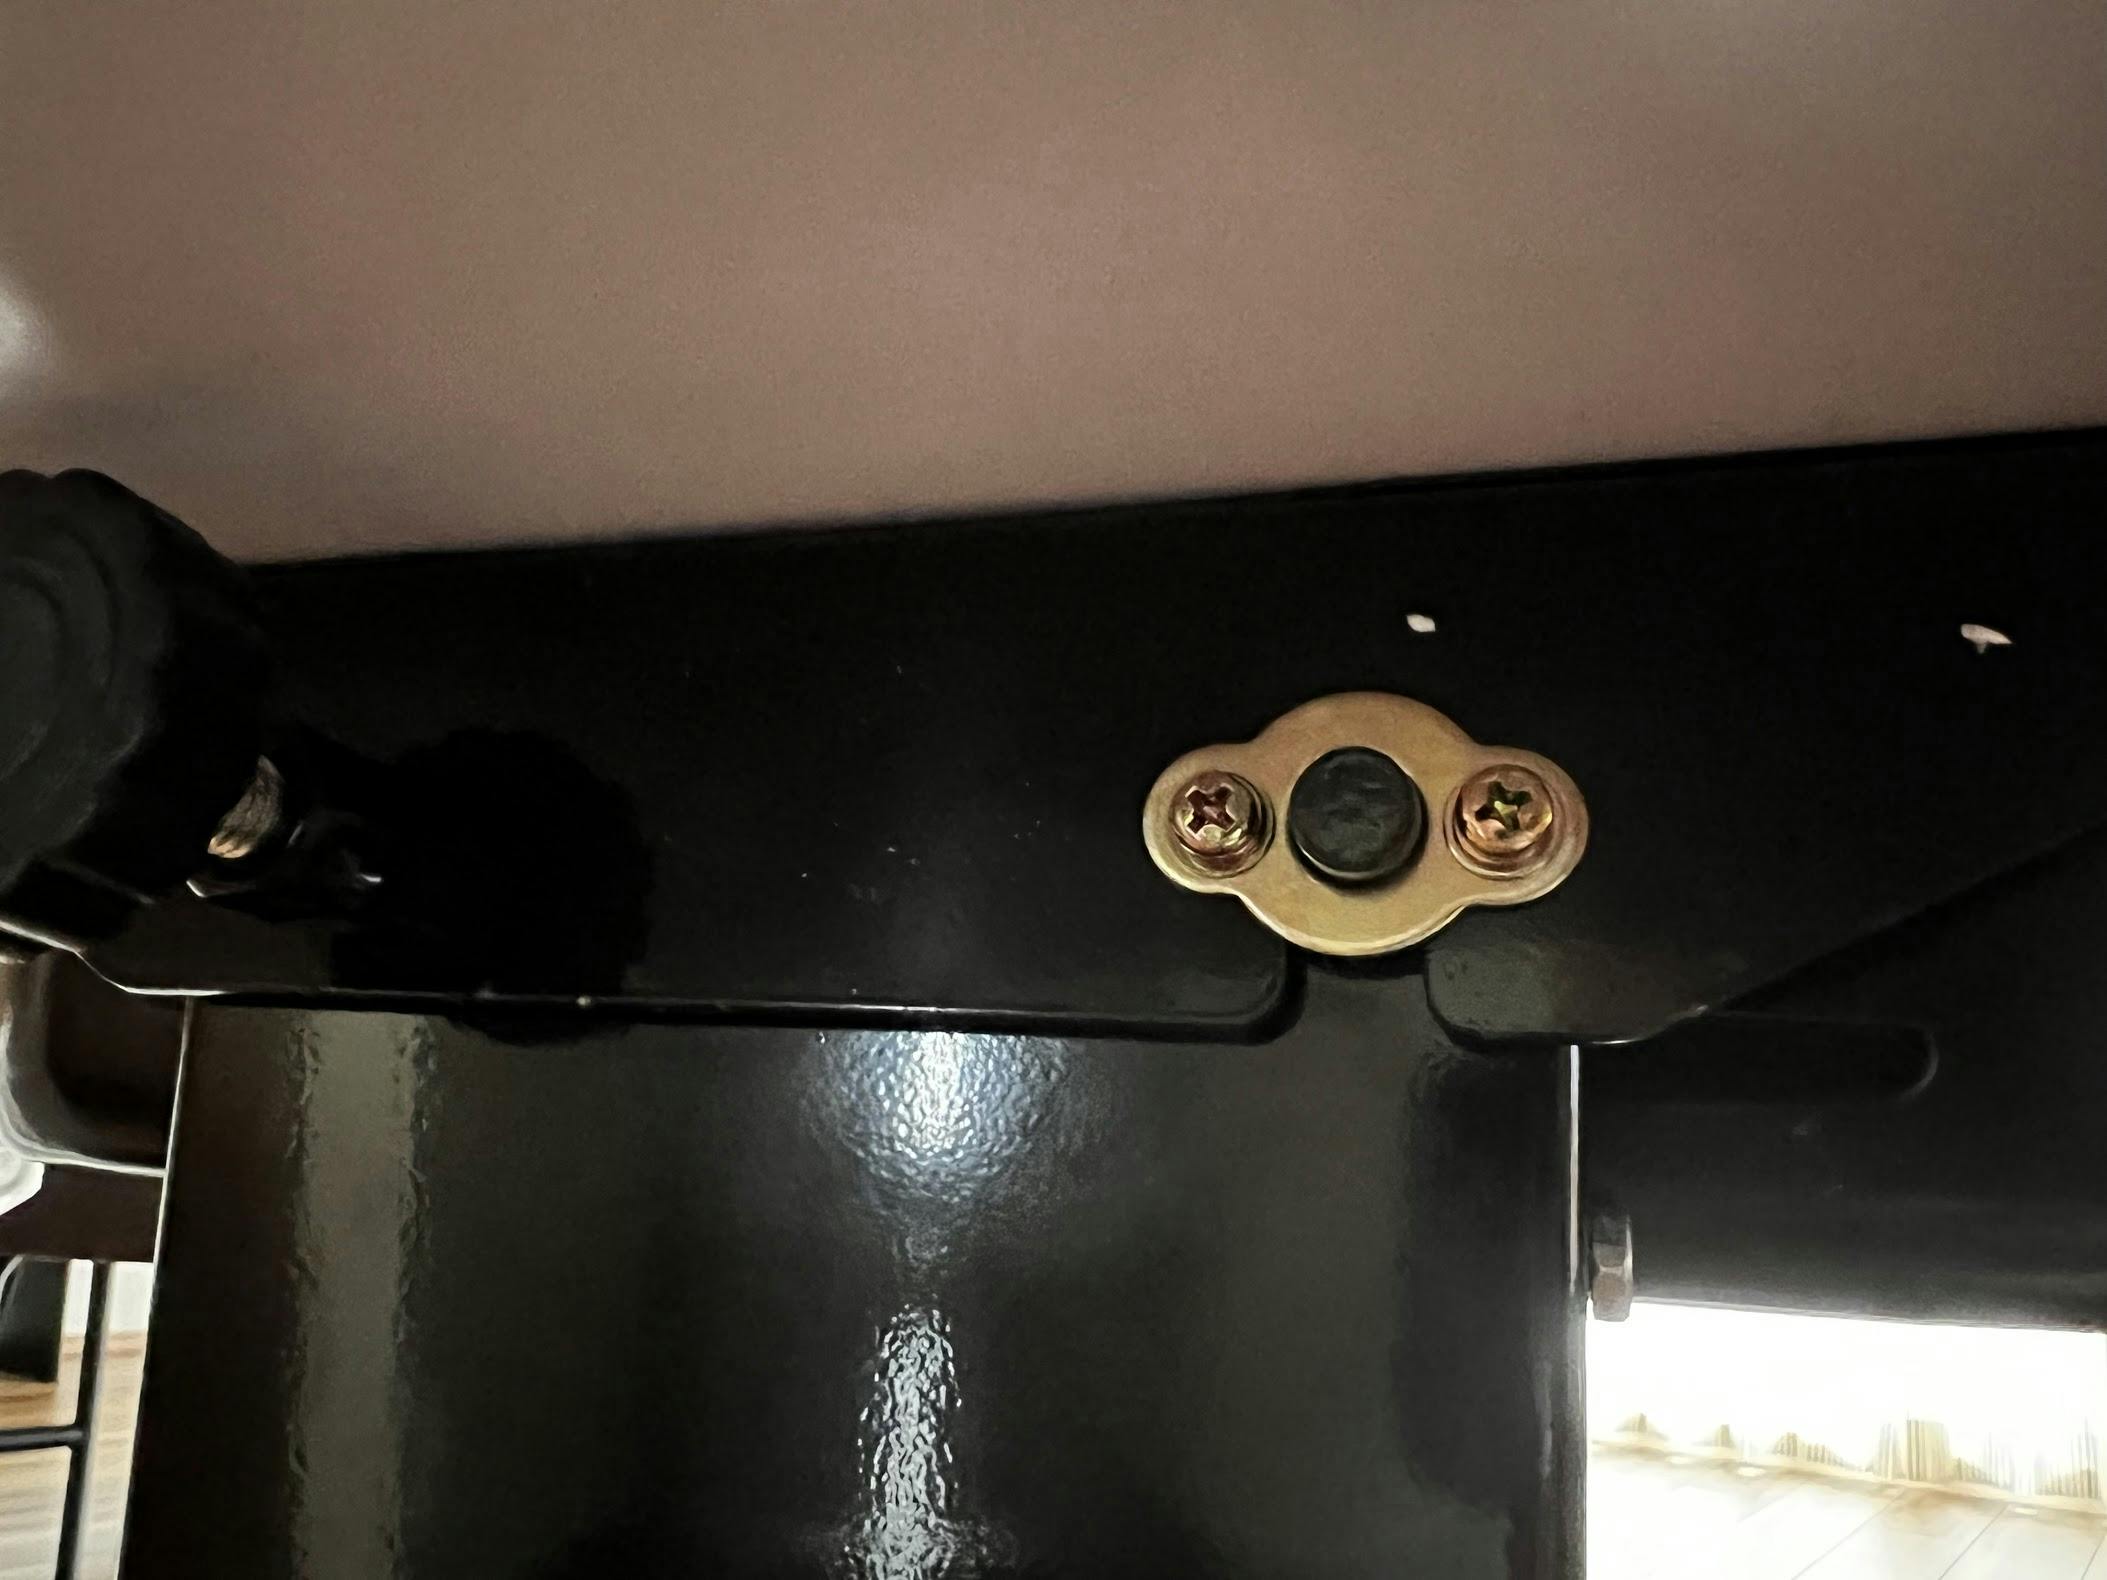
Different angle:
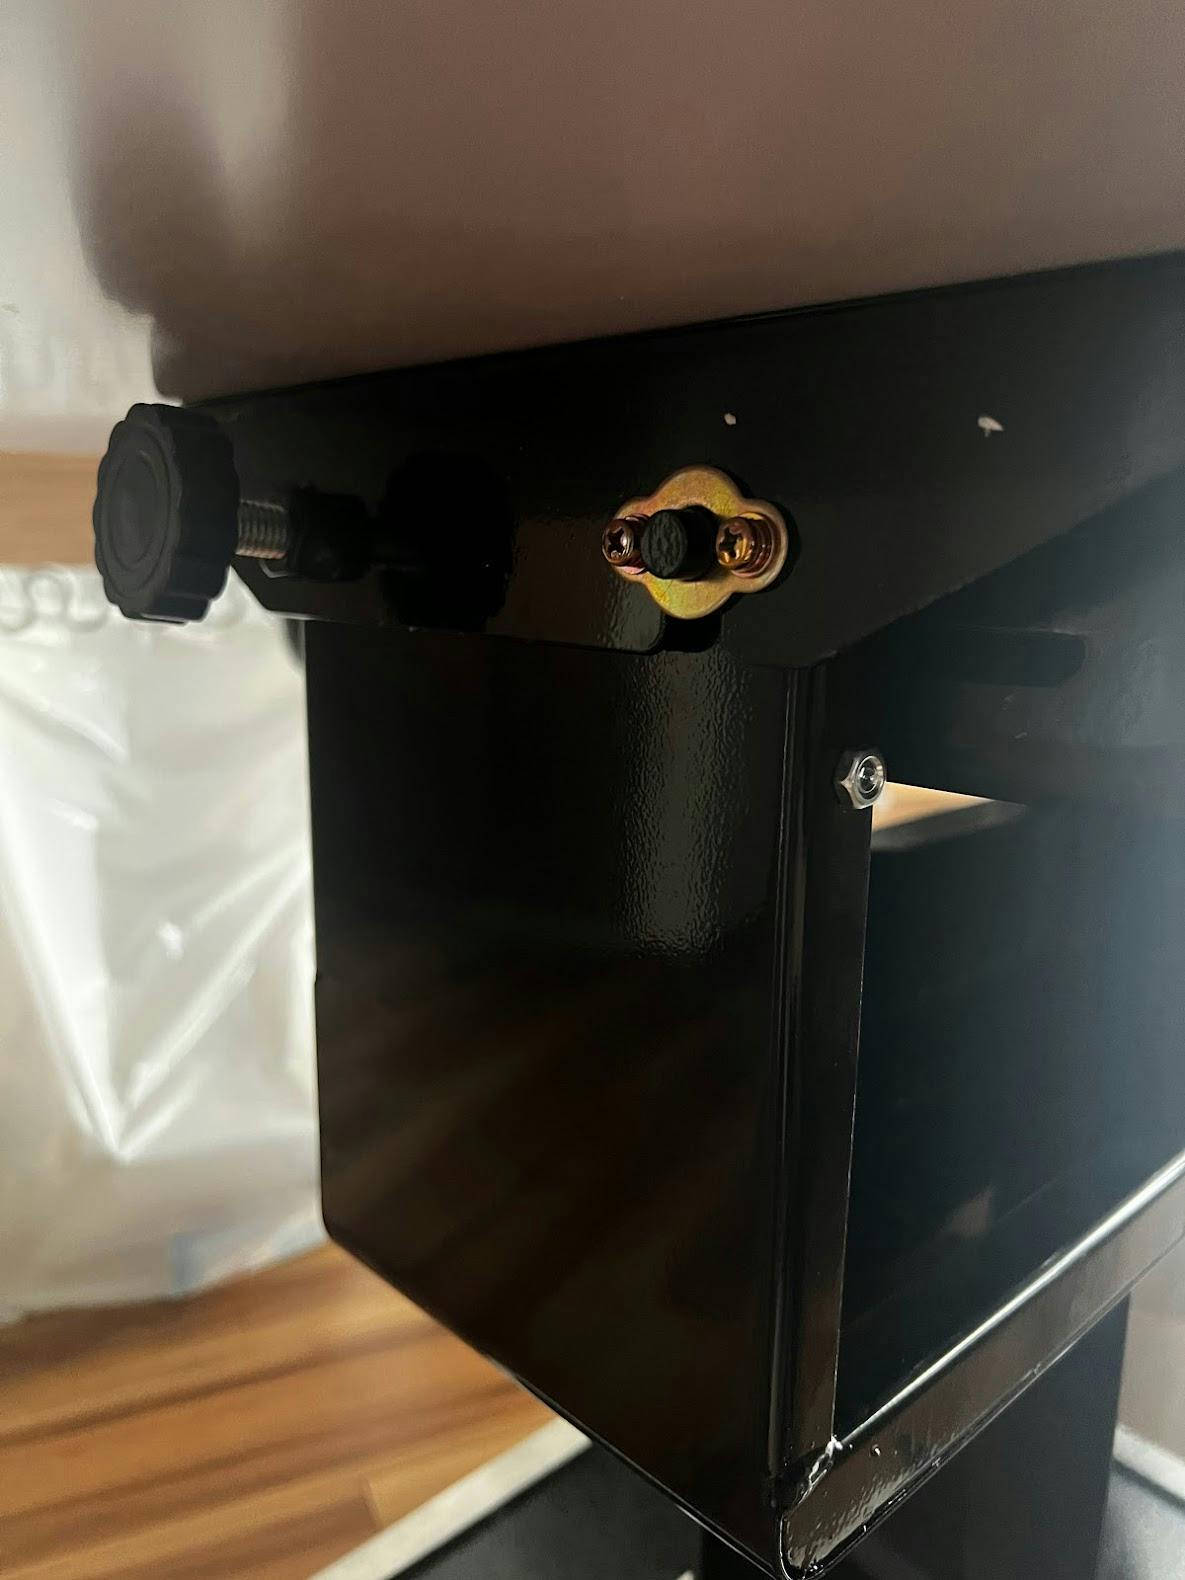
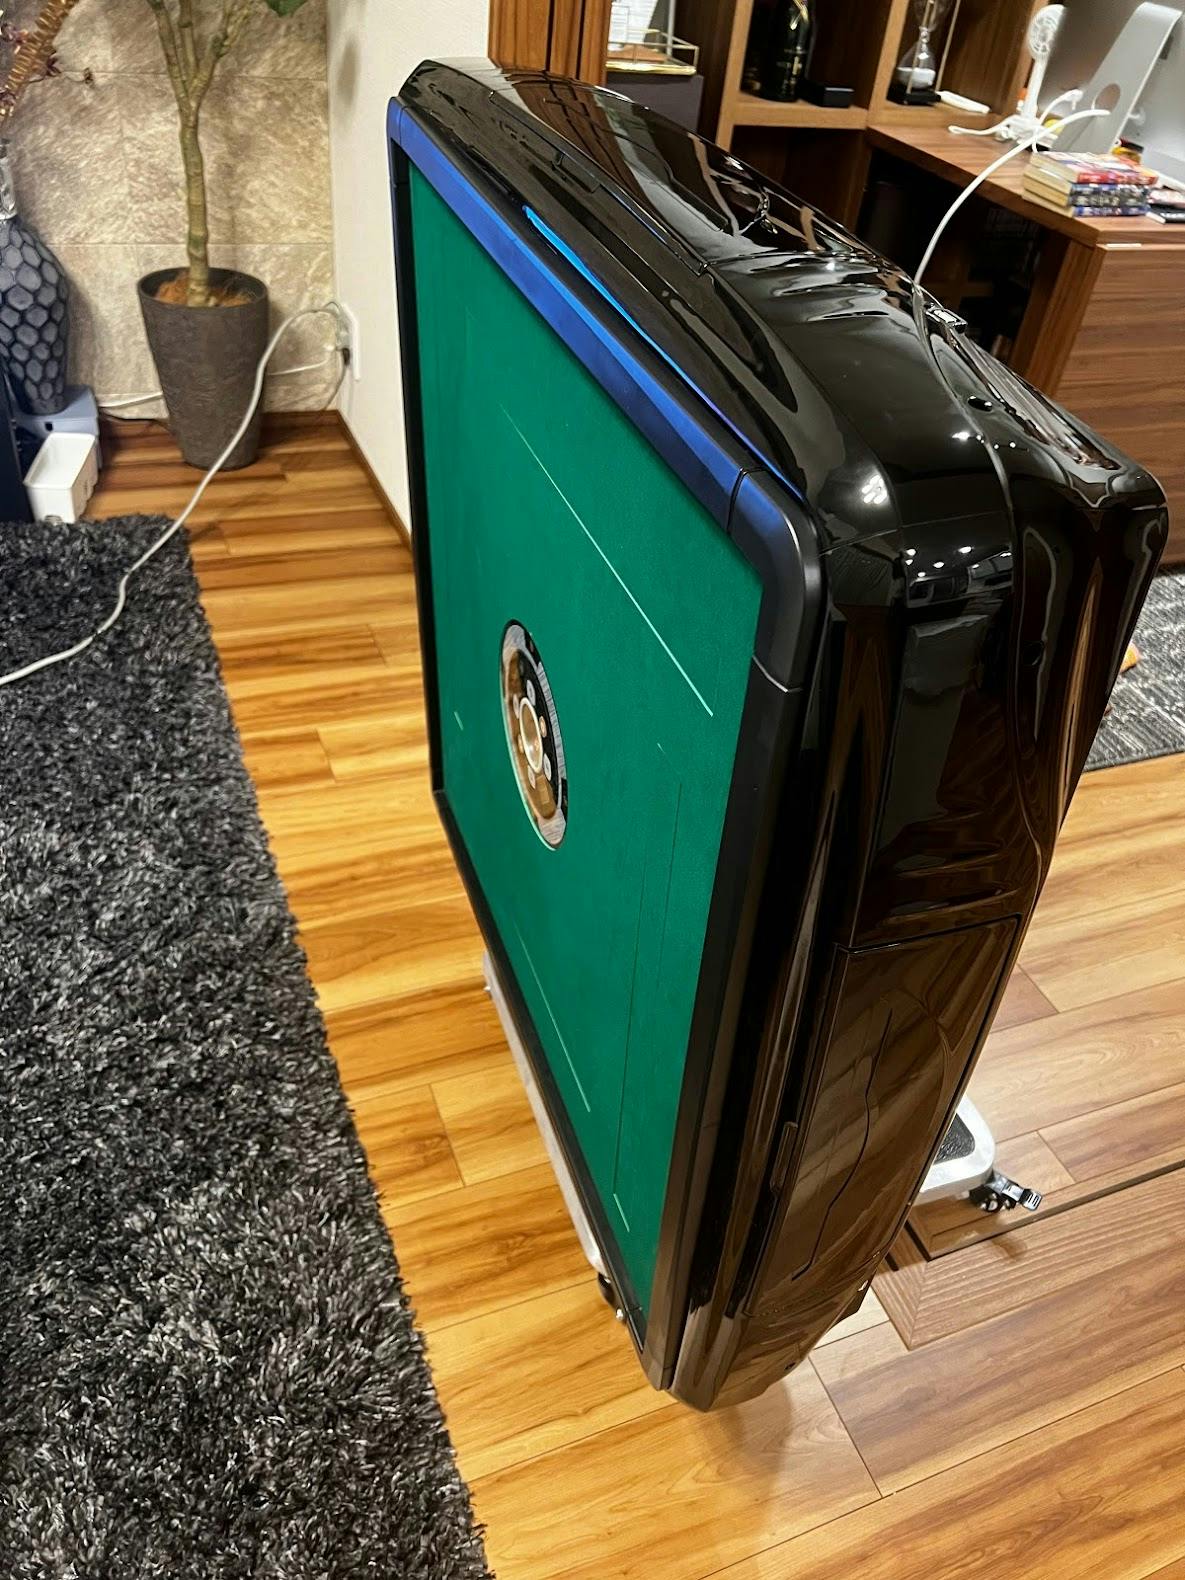
These gold pieces let you fold the table sideways when not in use. The handles secure it in place.
Clever design. This is what the table looks like when folded sideways (it saves space):
Set up the frame
Your table is now technically playable, but it looks unfinished without the frame around it.
Piece together the big black pieces like legos around the table and secure them with the remaining bolts. One important detail:
Aotomo tables include a USB port for charging your devices while playing. Before assembling these side pieces, plug the USB powering cable in.
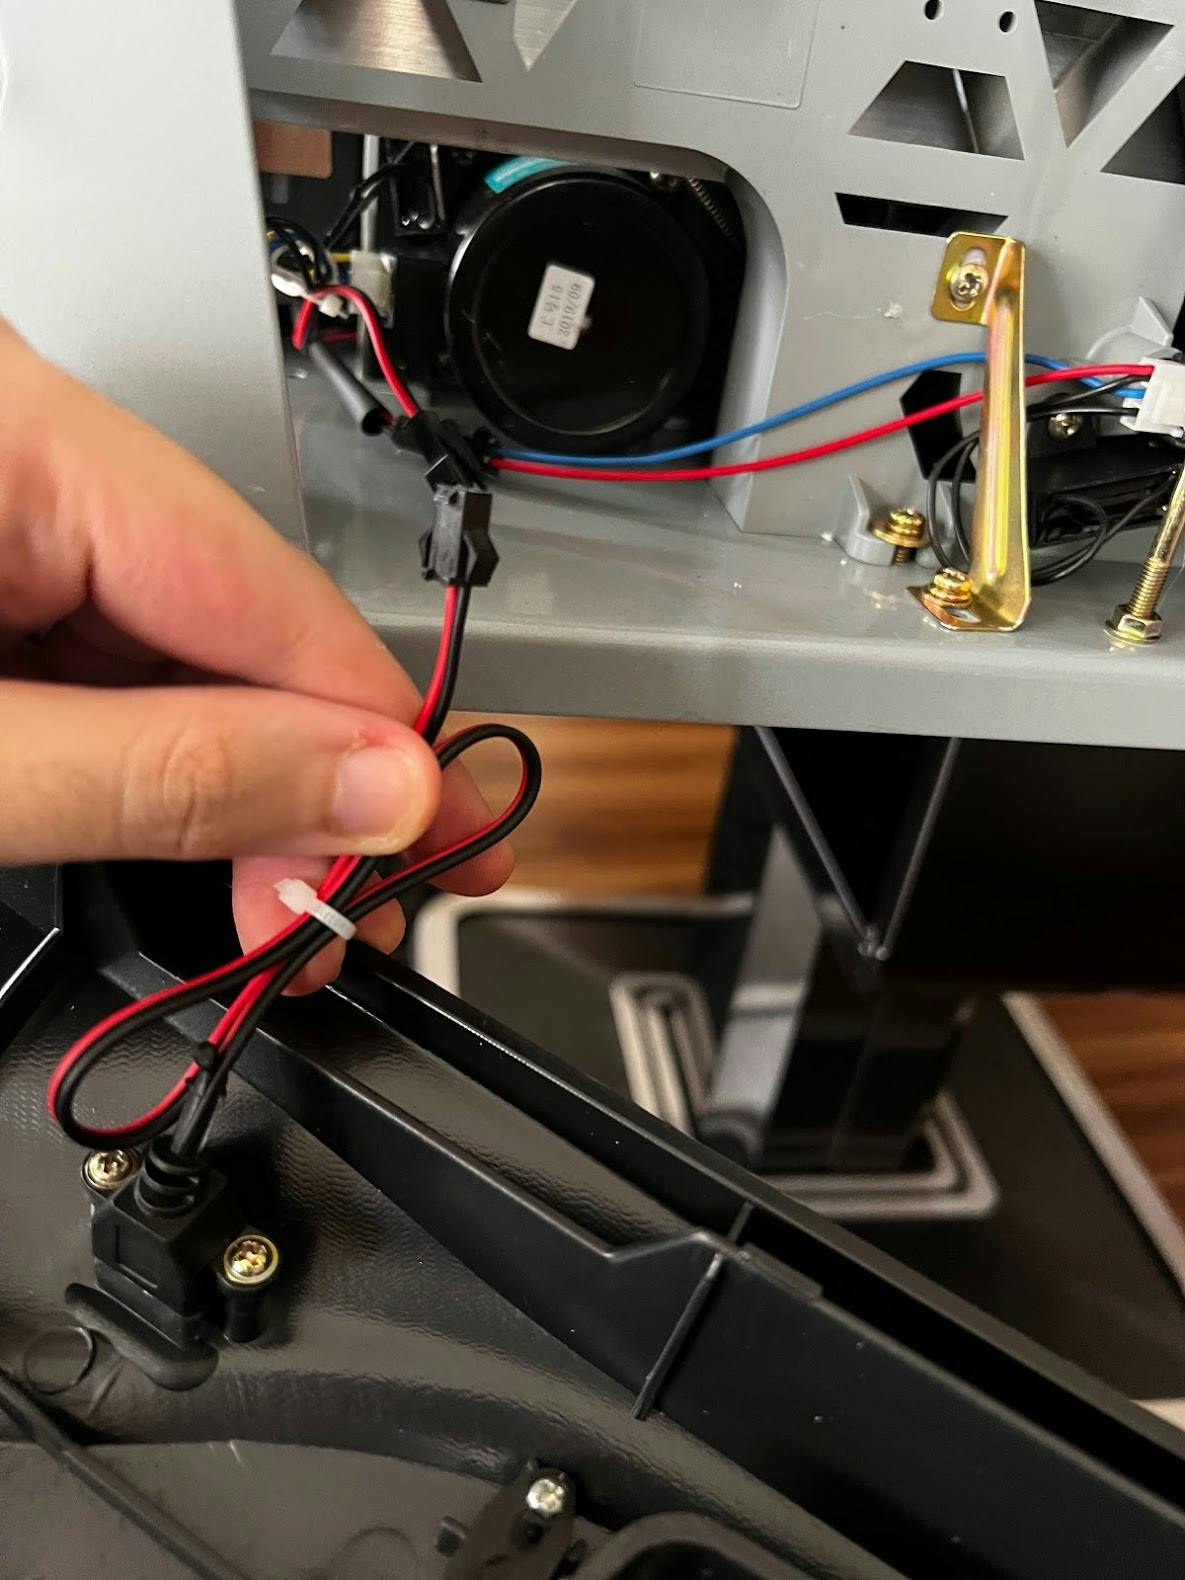
After you set up the drawers, piece together the frame and snap it in place on the table:
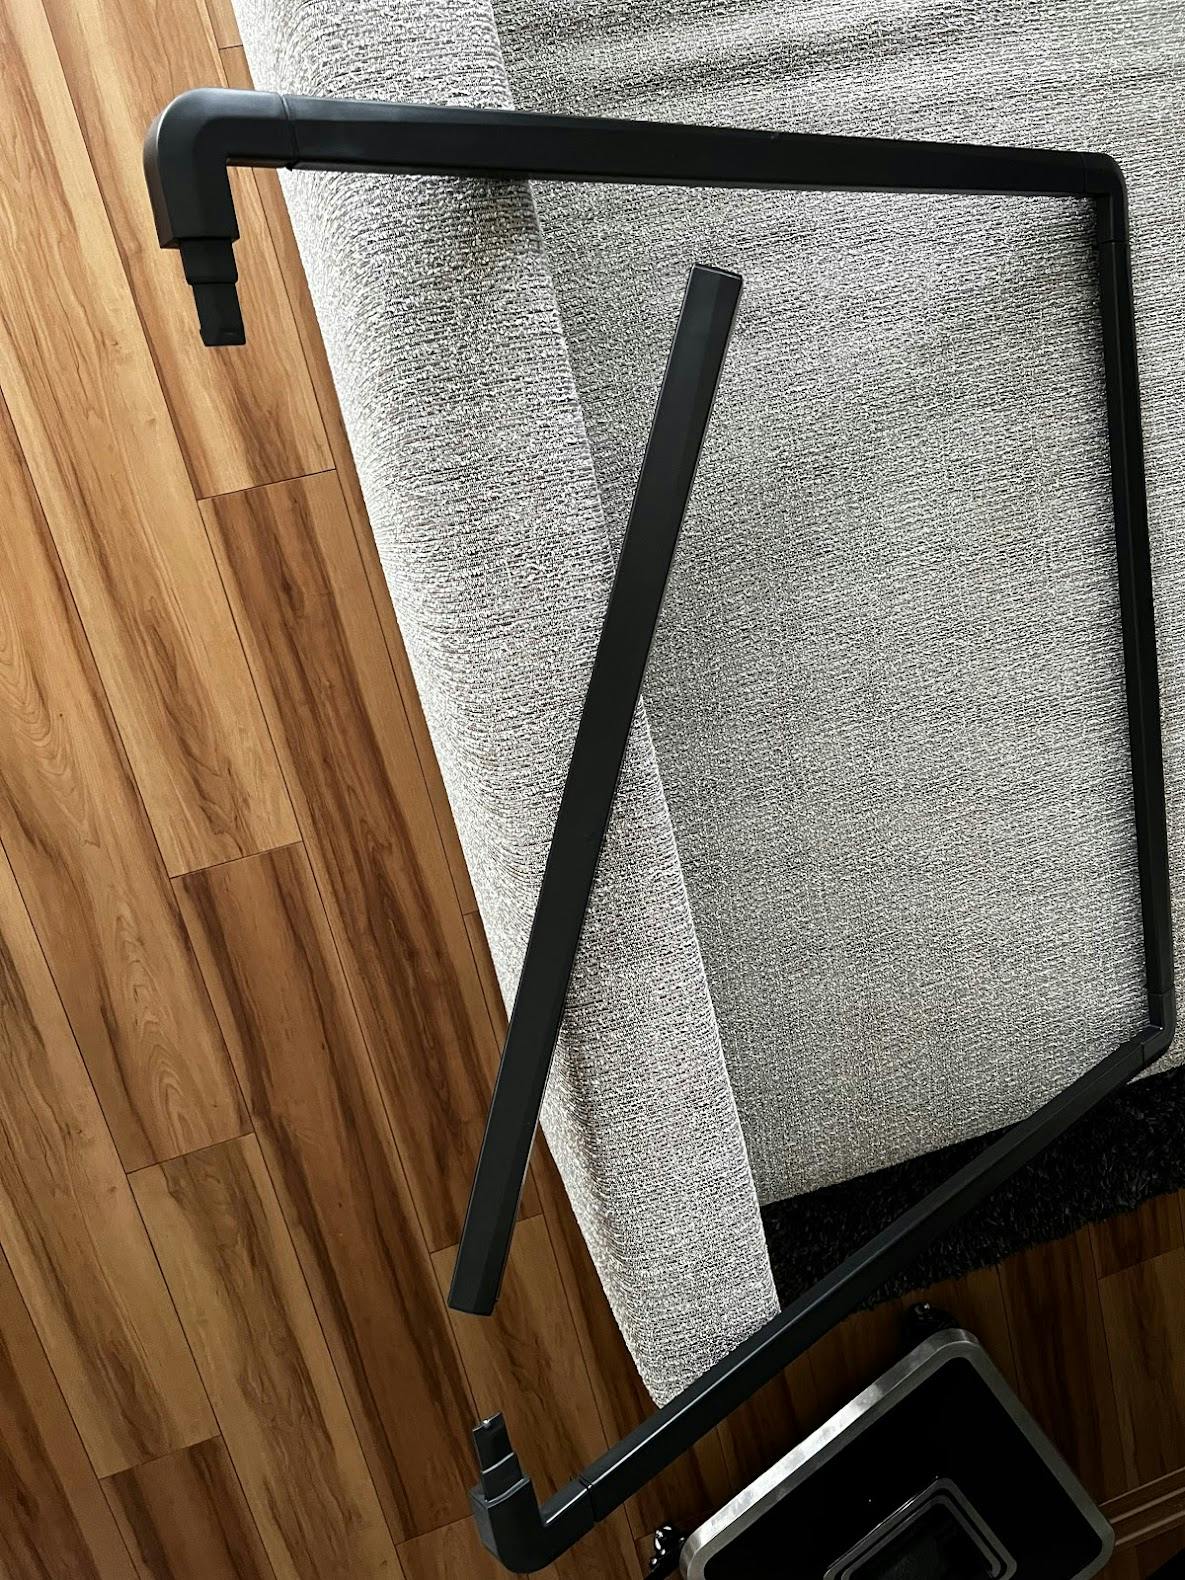
You might need to push hard to get them to snap together. I worried I'd break them, but a bit of force was necessary.
After putting all that together, the table is ready:
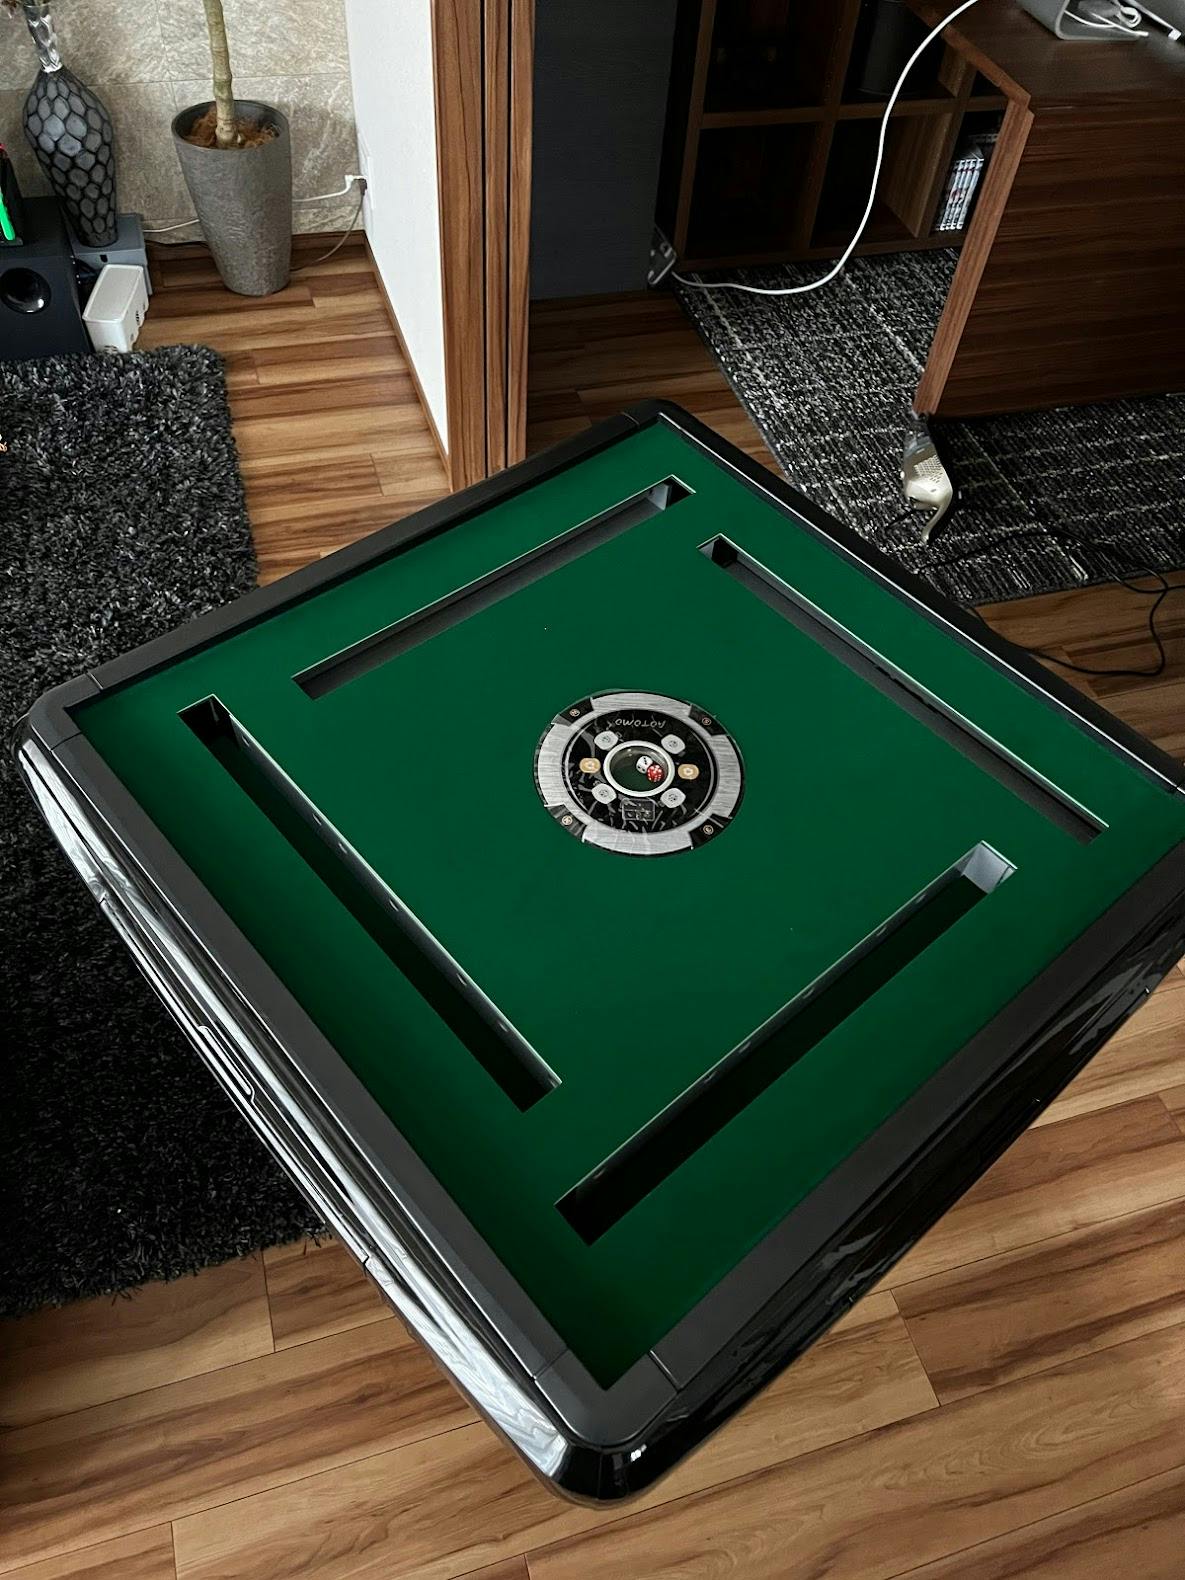
Turn it on
Plug the power cable into the table:
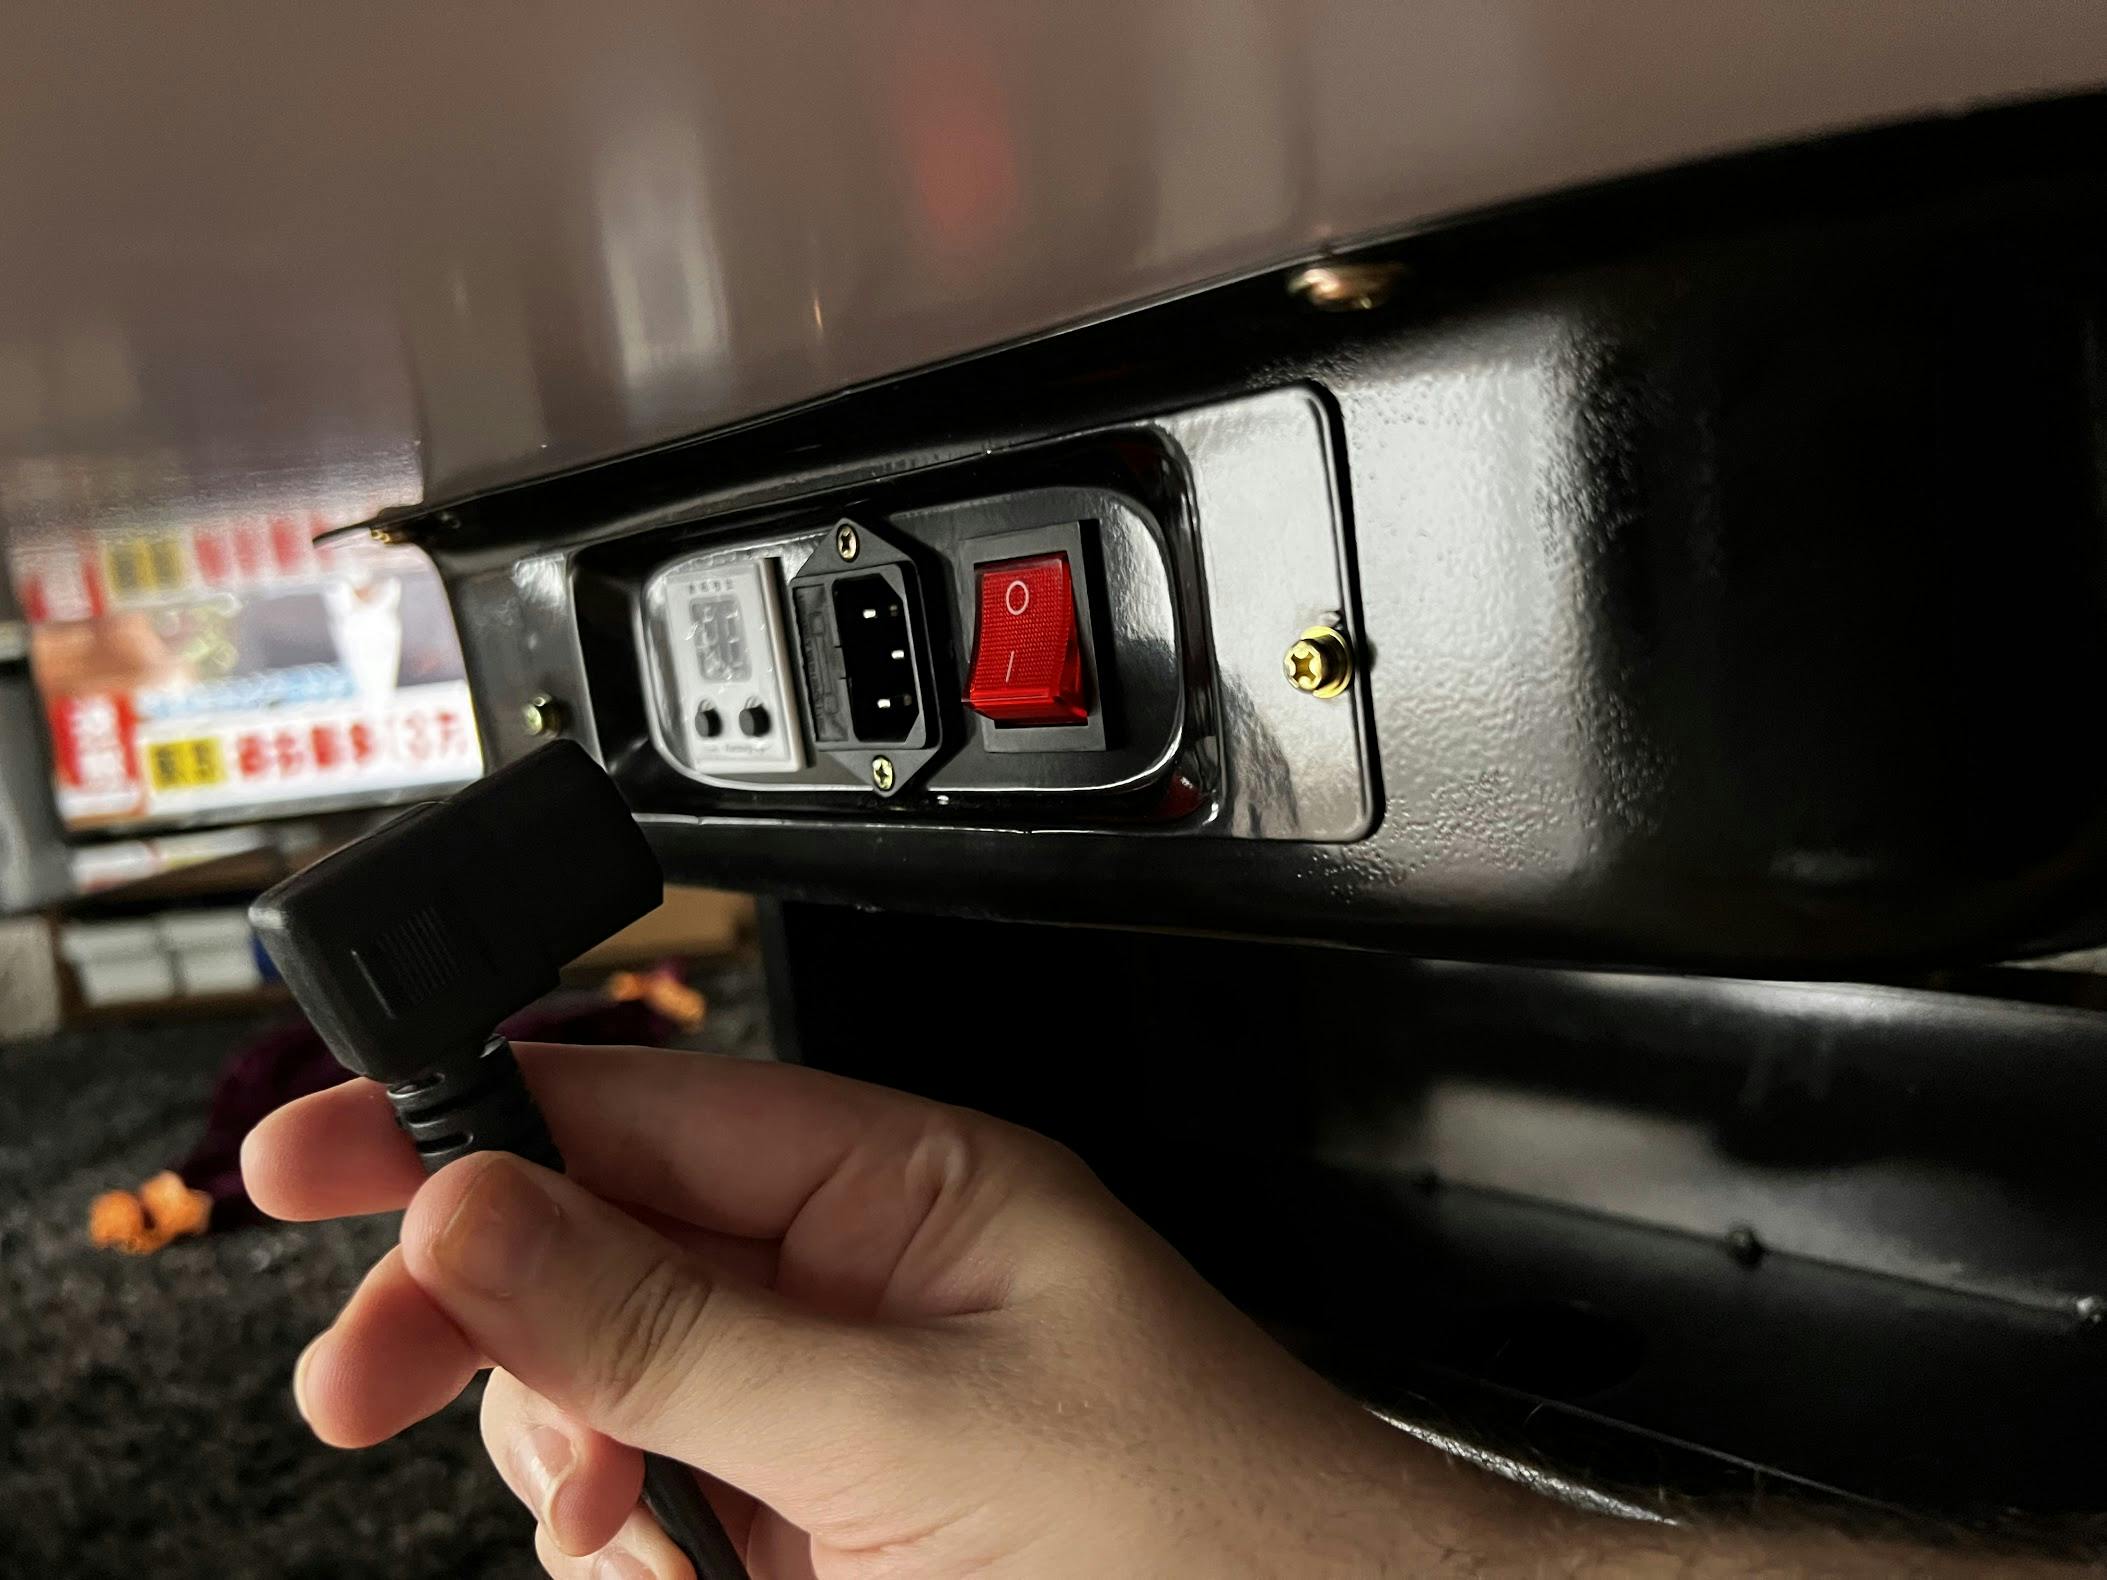
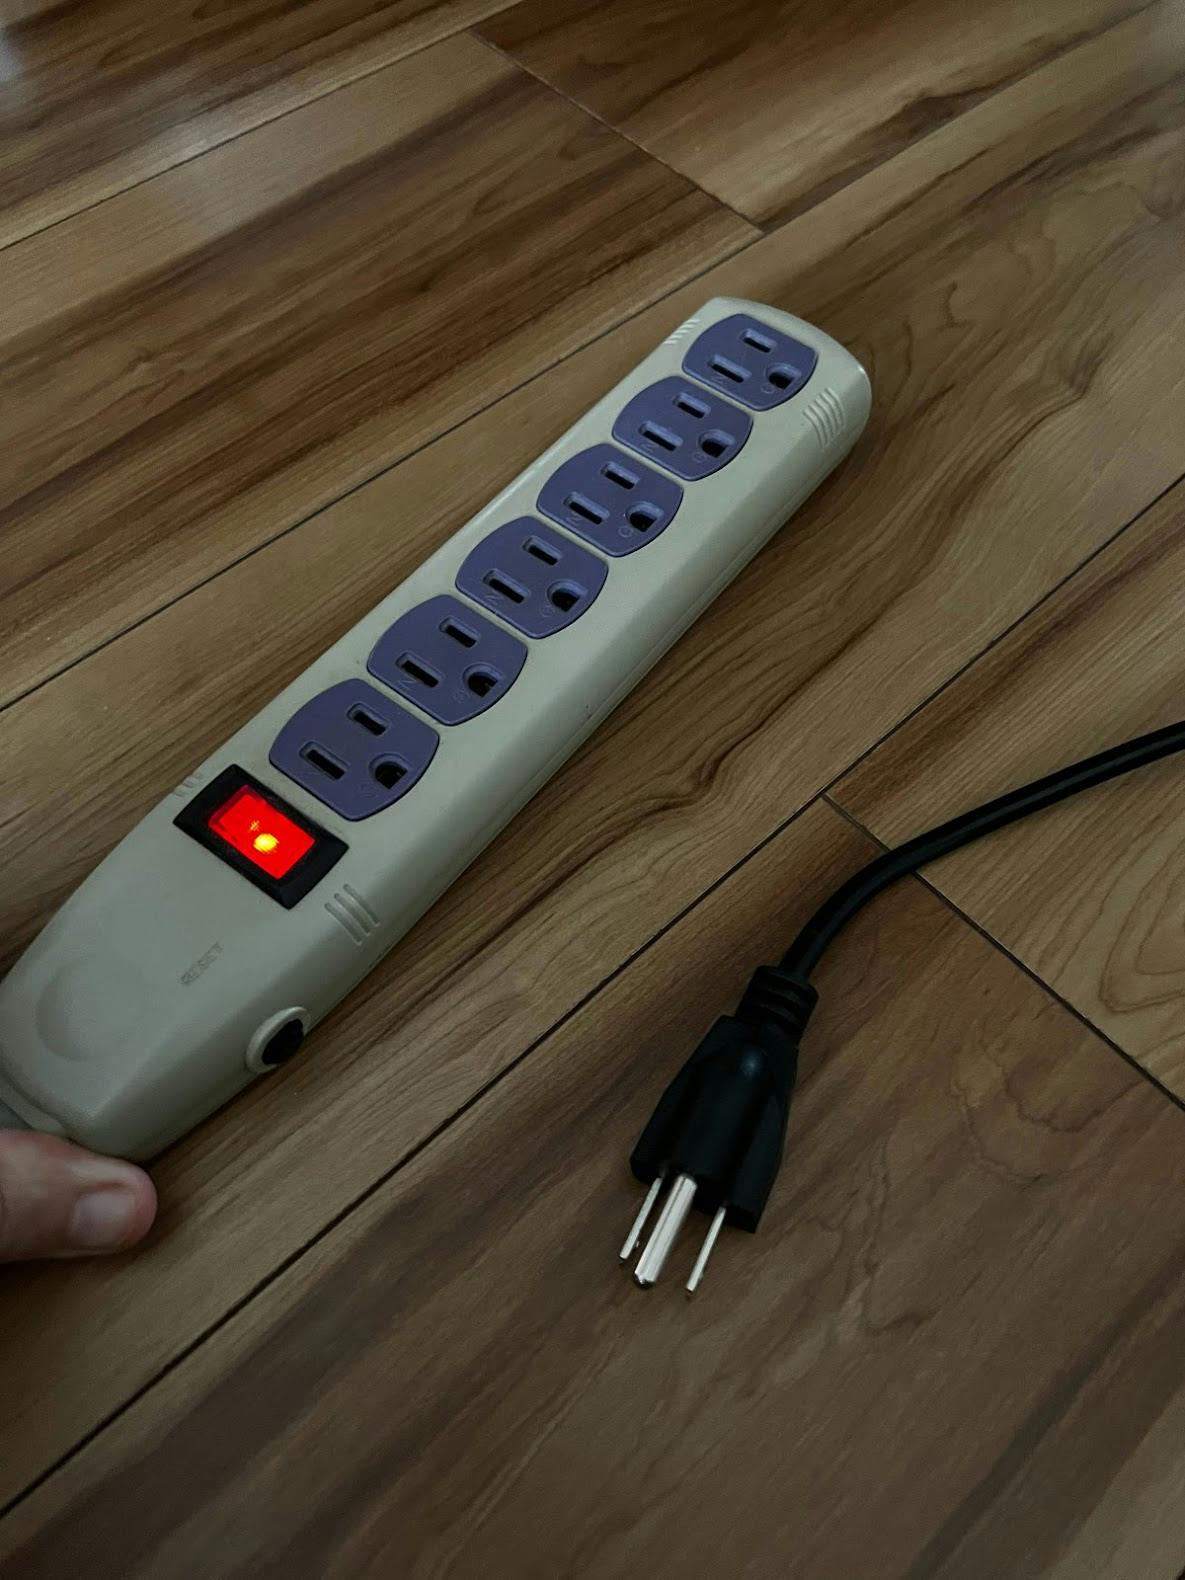
And the other end into the outlet. First, make sure your local power output matches the one on the table (or get a power converter). For reference, my Aotomo had two straight pins and an earth pin.
Before throwing the tiles in, remove the tiles you won't use (like red dora and flowers):
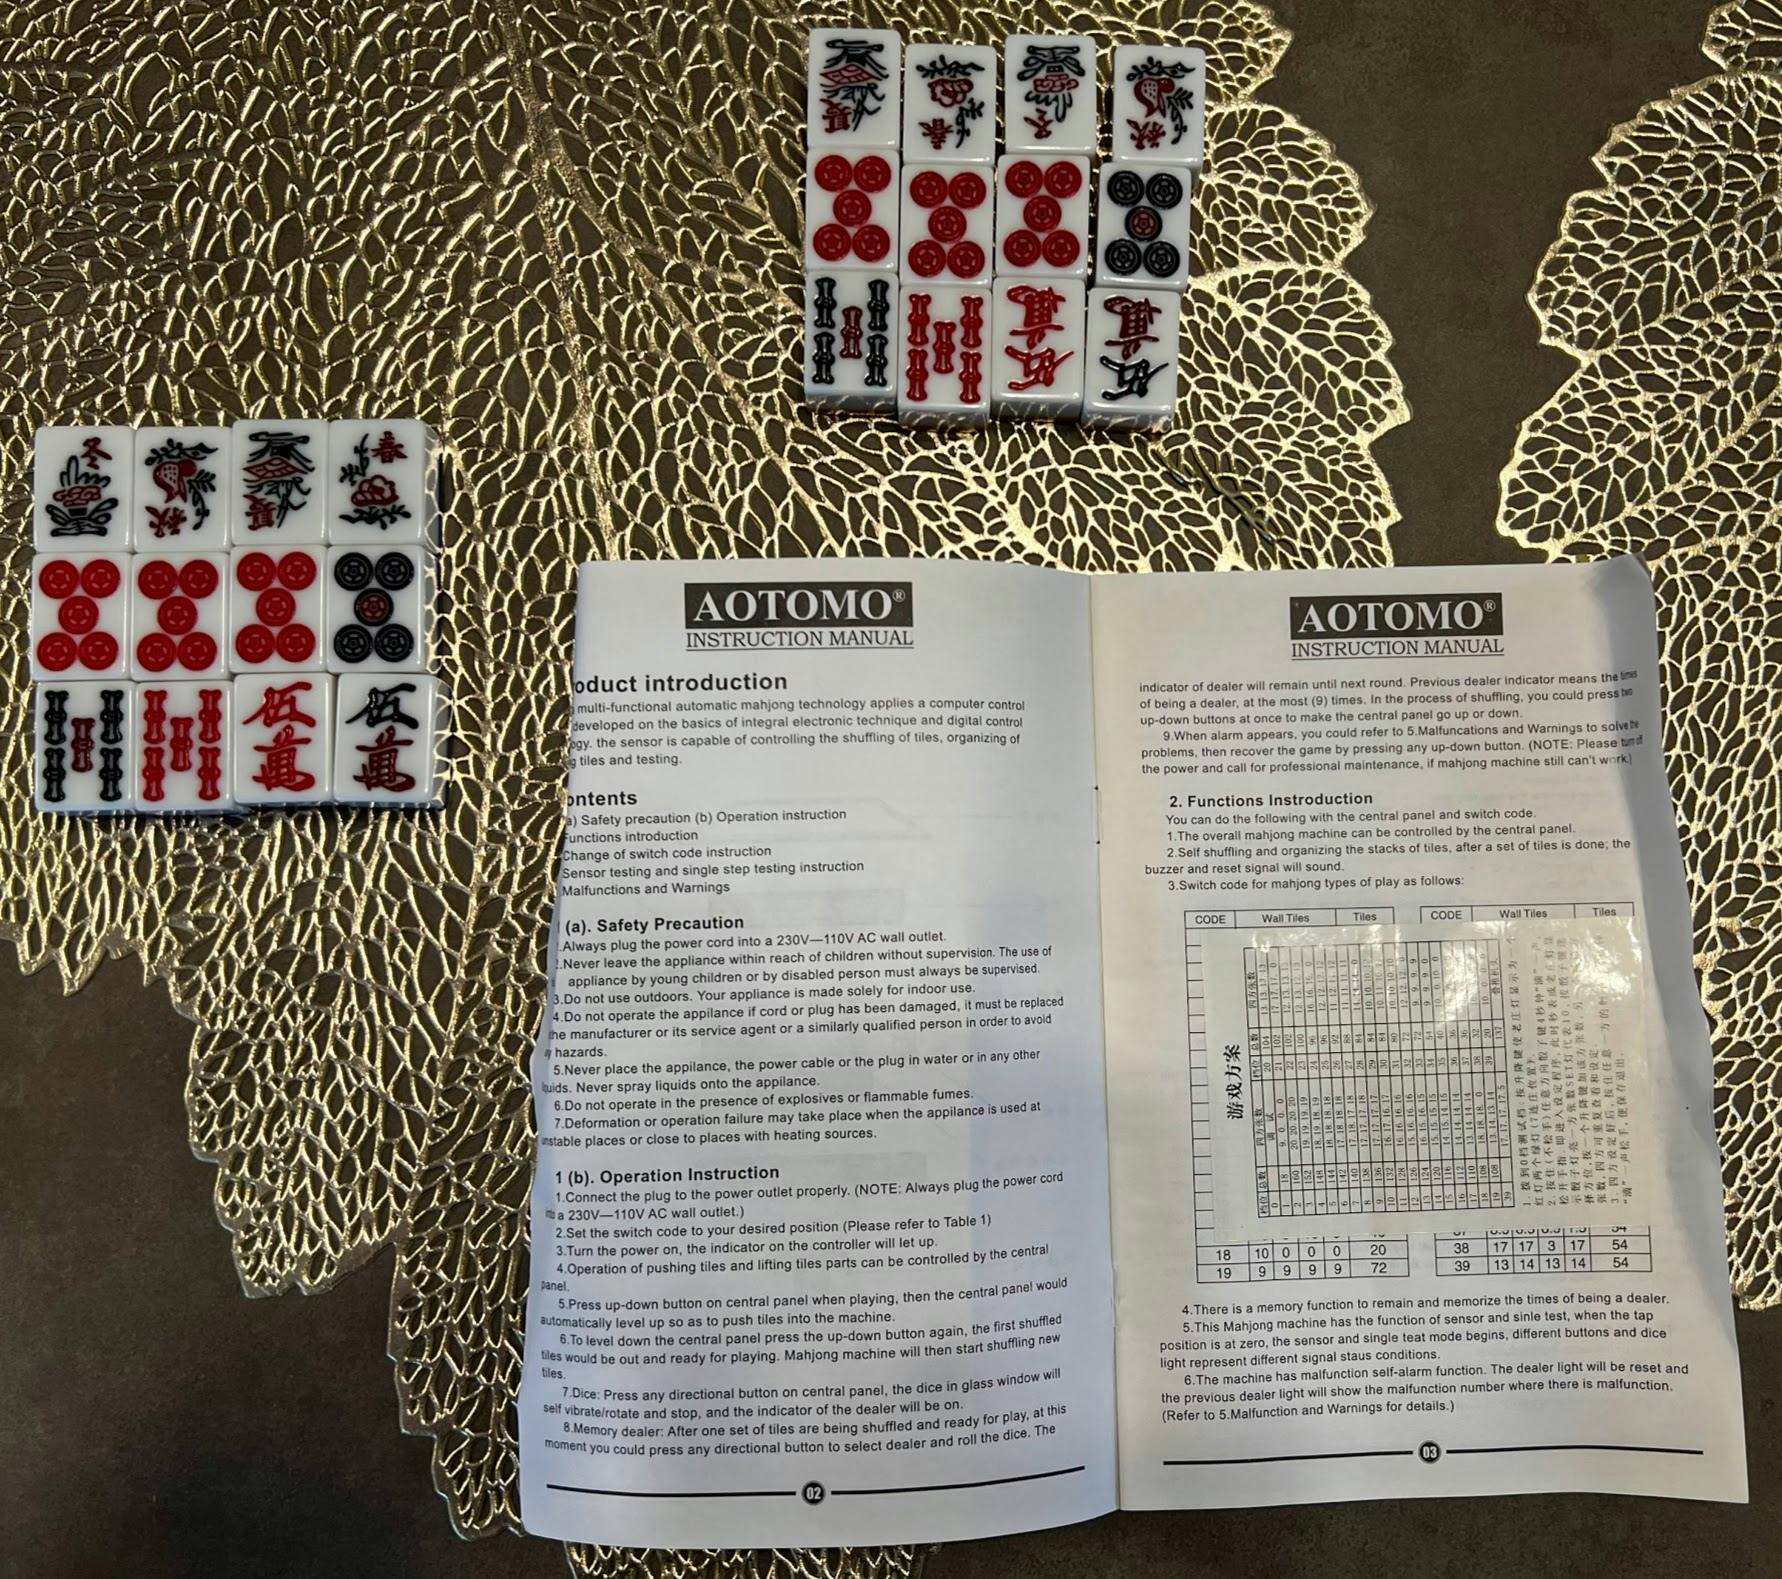
Then look in the manual for the correct setting for the number of tiles you're using.
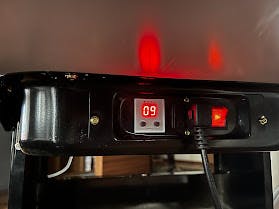
I set mine to 09 (Japanese mahjong with 136 tiles and 4 walls):
After that, reset the table and open the main hole. Note: the first time you open it, you need to push both Open buttons at the same time.

Then pour your first set of tiles in:

After it's done shuffling, open again and throw the second set in:

After that, you're all set.
How long does shuffling take?
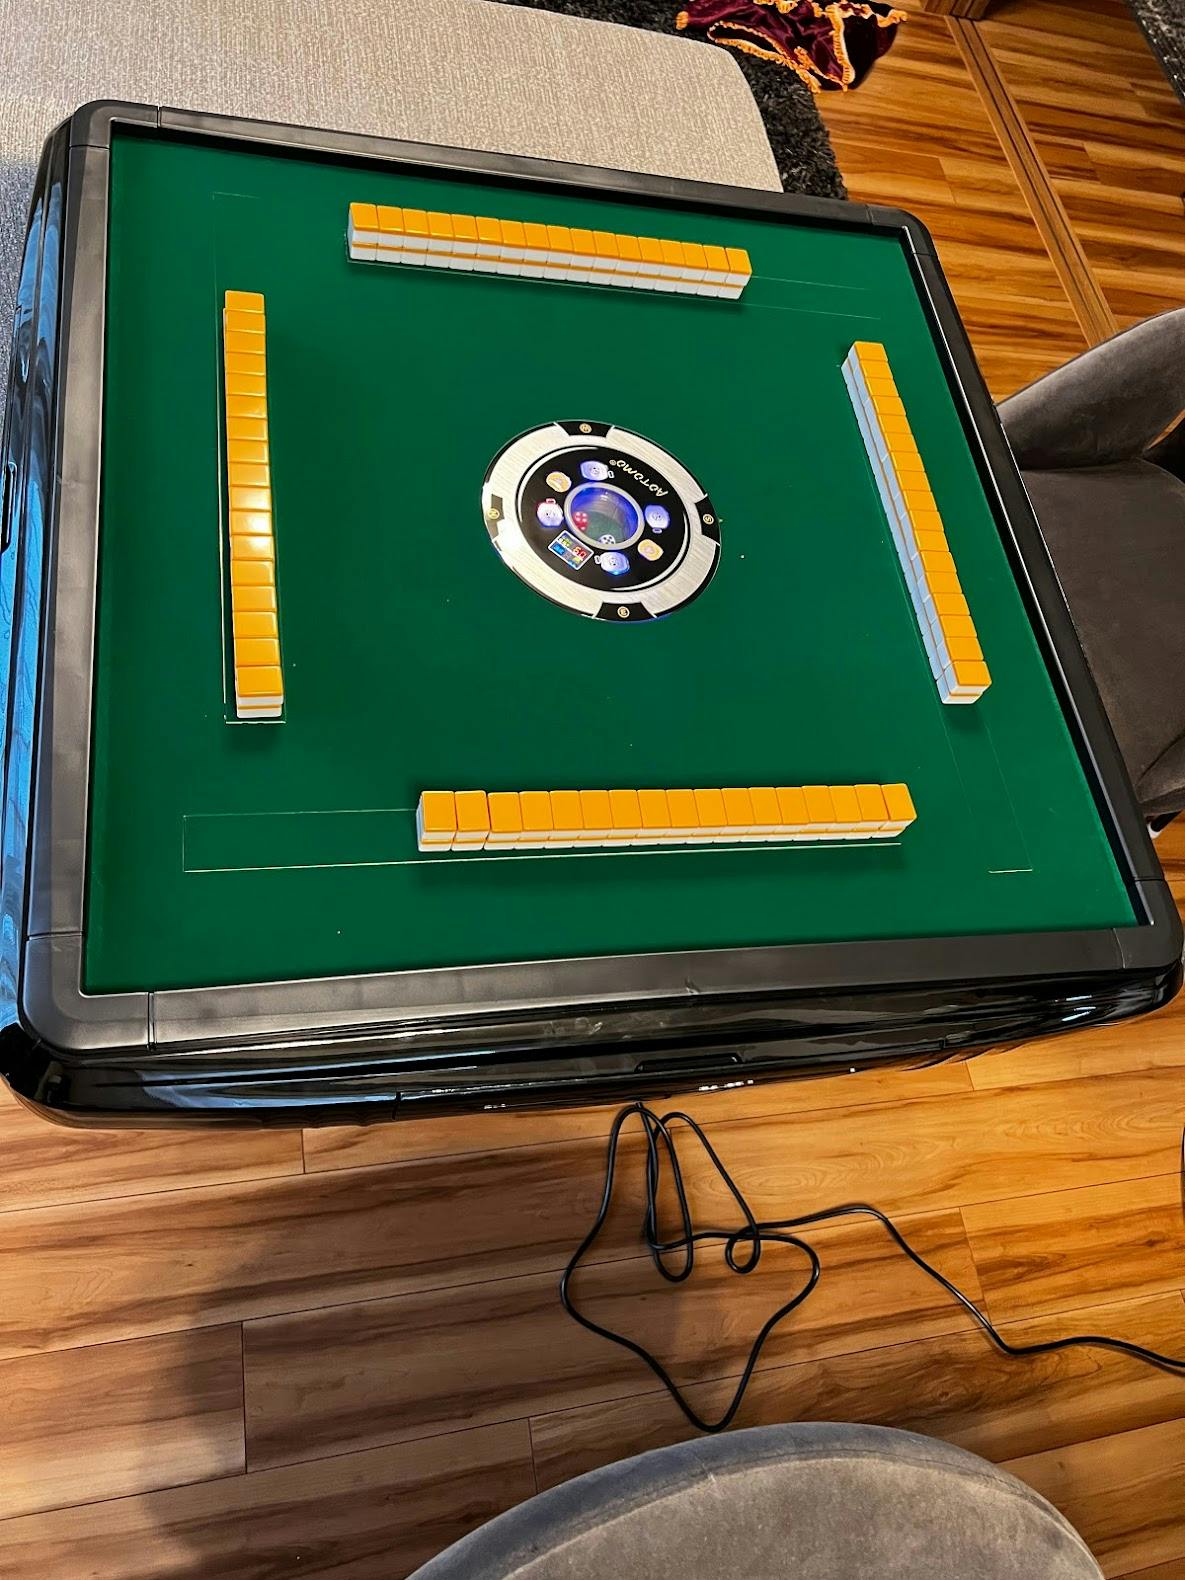
Seconds. I measured an average time of 40 seconds for Japanese mahjong; that's faster than most tables. A counter shows how many tiles have been shuffled.

And there you go:
Best way to get an Aotomo automatic mahjong table
You can order directly from the website, Alibaba, one of the many shops online, or consult directly with Frank Du on Facebook so he can help you find the right model and shipping for you. (Please mention this blog if you do.)
Stay tuned for videos and blog posts of me playing with others on this table.
Until the next one.
