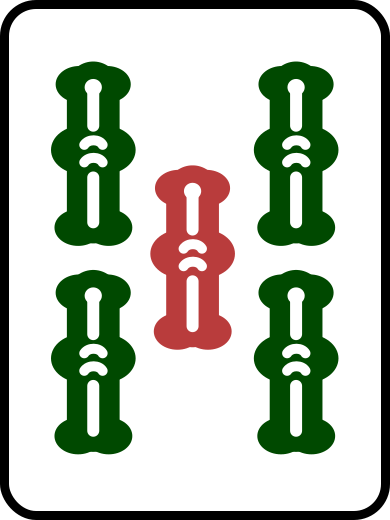
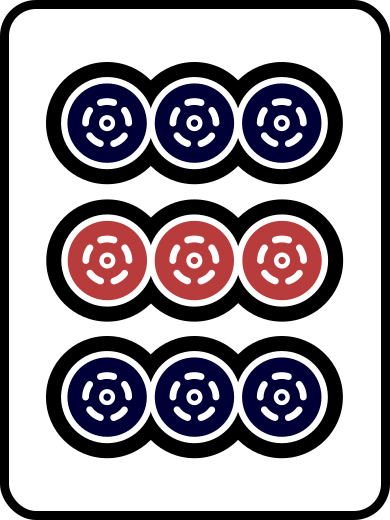
North's river reads 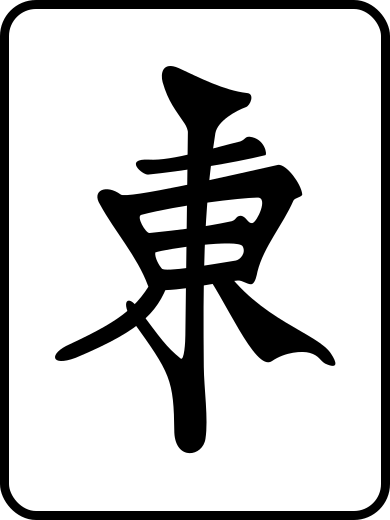
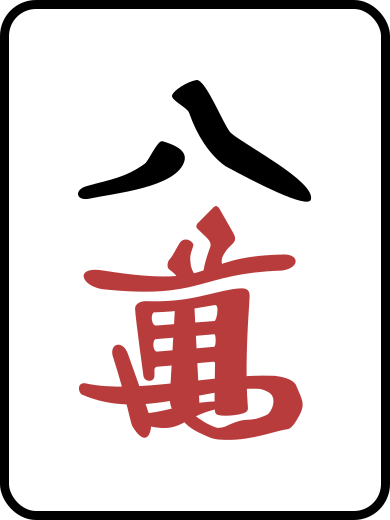
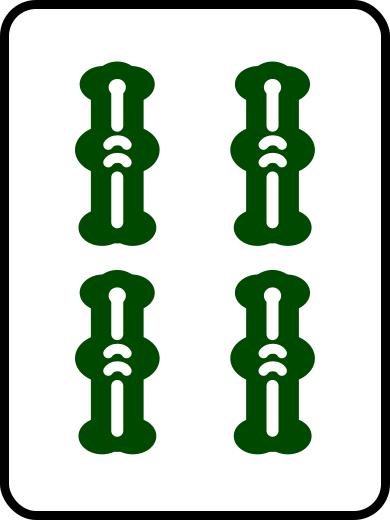
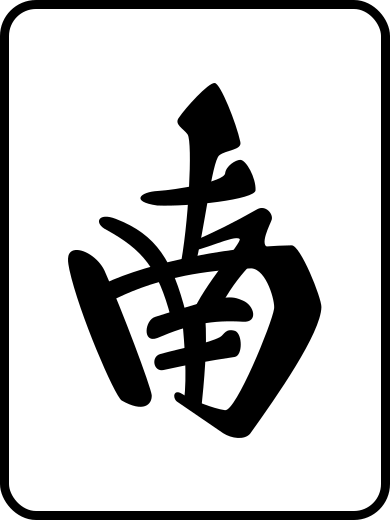
 . The 8m is in it, so the
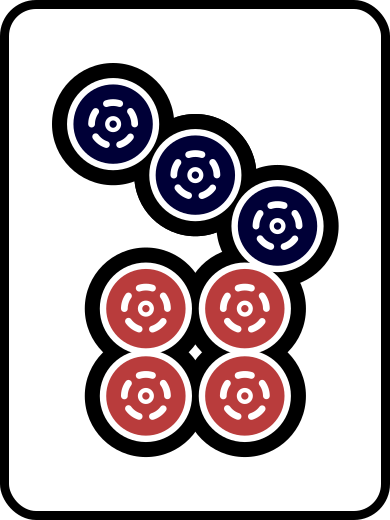
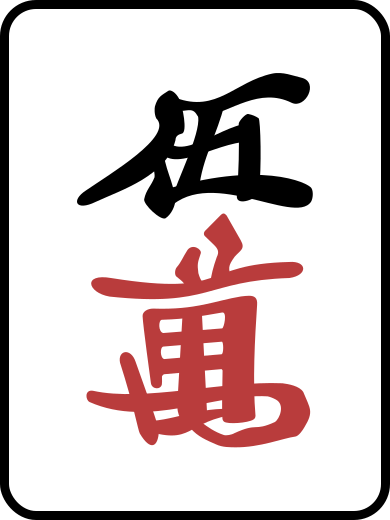 you want to throw is half . You hold it a turn. North throws the
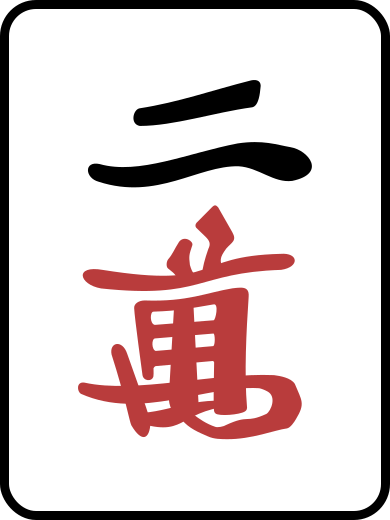 . Now it's full , and it feels safe. How safe?
Most players answer with a word: safe, safer, dangerous. A number answers better, and there's a 260-year-old rule for getting it. Each discard is evidence. Bayes' theorem says how far a piece of evidence should move your estimate, starting from what you believed before you saw it.
Bayes' rule turns a discard into a number
Thomas Bayes was an English Presbyterian minister who died in 1761 without publishing the idea that made his name. His friend Richard Price edited the manuscript, and the Royal Society heard it in December 1763. Pierre-Simon Laplace reached the same result on his own in 1774.
The rule fits on one line. The chance of a hypothesis after you see the evidence equals the chance of the evidence if the hypothesis were true, times the chance of the hypothesis before, divided by the chance of the evidence overall:
P(wait | river) = P(river | wait) × P(wait) ÷ P(river)
At the table that becomes three questions. What did I believe before this discard? How likely is this discard under each wait? Which waits does it rule out, and where does their share go?
The base rate: what riichi hands wait on
The before number is the part players skip, and it's the part the data gives you for free. In Tenhou Houou logs from 2016 to 2020, chienshyong's analysis, 59% of riichi hands waited two-sided: a or a . Another 37% were , , , or waits, and mixed shapes made up the rest.
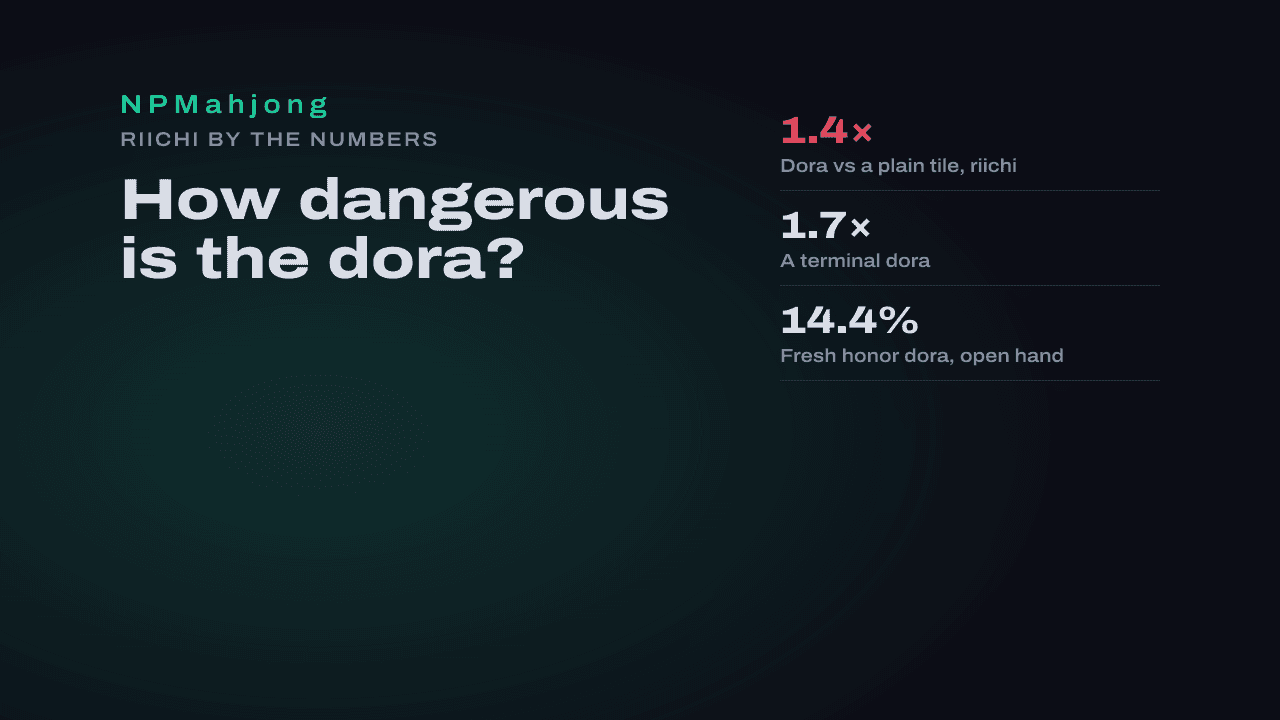
Per tile, the same logs give the share of riichi waits that include it. A 5 that isn't is in 8.0% of them. A 1 or a 9 is in 4.1%. If the 5 is the dora, the base rate climbs to 11.5%, as dora danger shows.
That 8.0% splits by shape. For the 5m, the wait data behind the deal-in danger tool breaks it down like this. The data leaves complex waits out, so the shares run a little low.
| Wait | Shape | Share of riichi hands |
|---|---|---|
| Two-sided 2-5 | 2.98% | |
| Two-sided 5-8 | 2.97% | |
| Three-sided 2-5-8 | 0.64% | |
| 0.58% | ||
| 0.15% | ||
| with the 5m | and another pair | 0.63% |
| Any wait on the 5m | 7.96% |
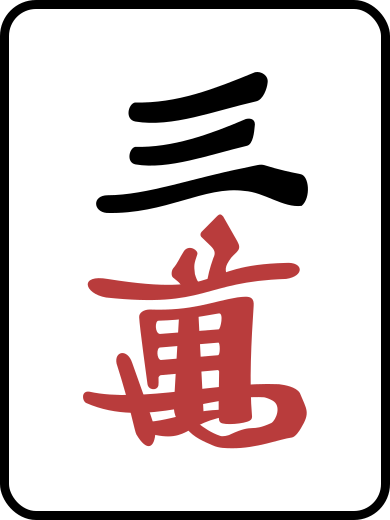
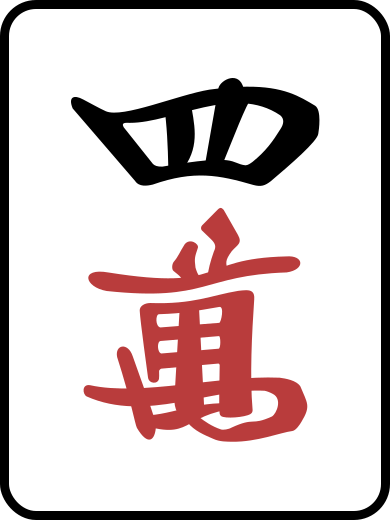
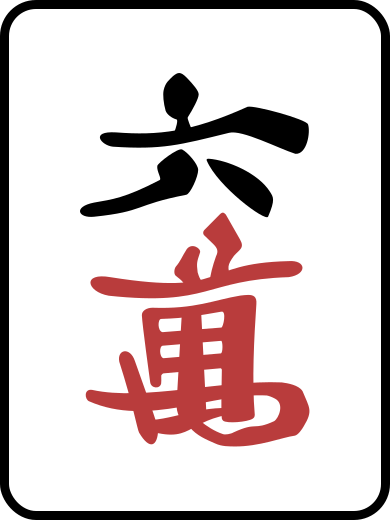
The other 92.04% of riichi hands don't wait on the 5m at all.
The update, one discard at a time
This is a simplified model. It sorts every riichi hand by its wait: the two-sided waits that can the 5m (2-5, 5-8, and 2-5-8), the kanchan, tanki, and shanpon on the 5m, and every hand not waiting on the 5m at all. A discard does one of two things to each of them. If it leaves a wait , with a winning tile in its own river, that wait can't ron and drops to zero. Otherwise the model assumes the discard was just as likely to come from that wait as from any other, so it leaves their relative odds alone. Bayes then reduces to two steps. Set the ruled-out waits to zero. Divide what's left by the total that survived.
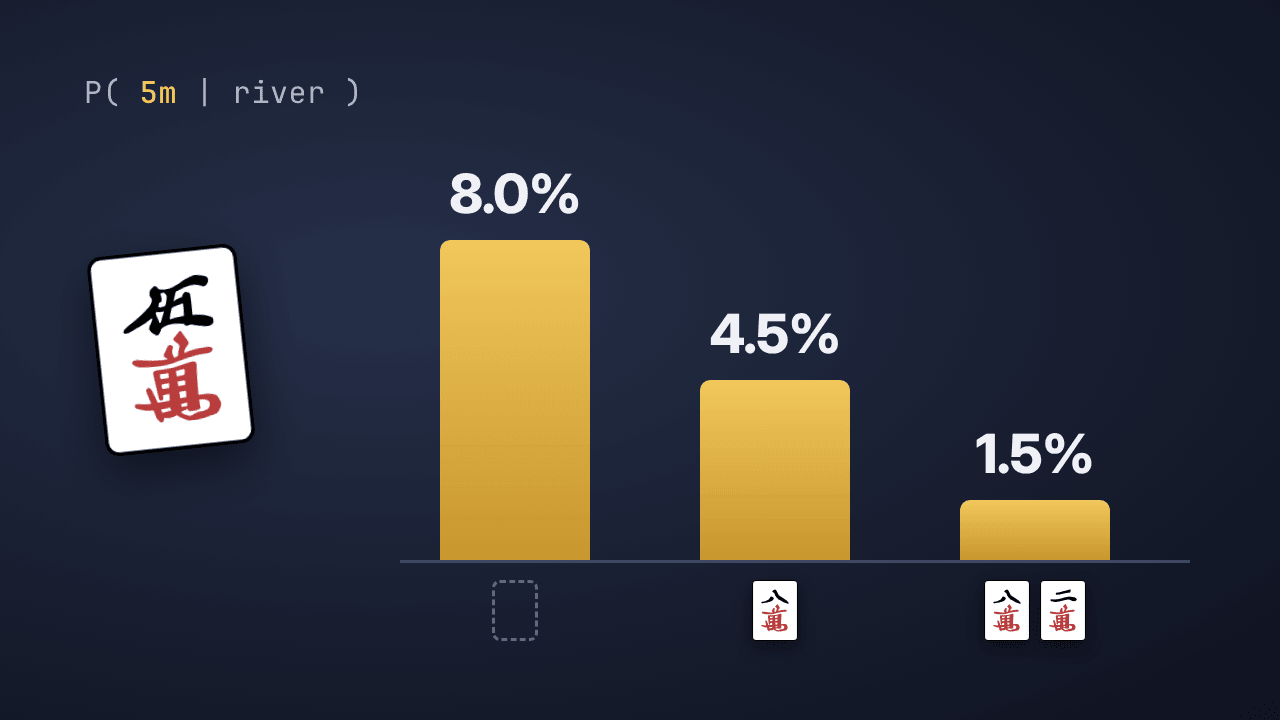
The 8m. A 67m waiting on 5-8 would be furiten with the 8m in the river, and so would the three-sided 2-5-8. Barring a furiten riichi, those two waits are gone: 2.97% + 0.64% = 3.61% of hands. What survives is 96.39%. The waits that can still ron the 5m add up to 2.98% + 0.58% + 0.15% + 0.63% = 4.34%.
4.34 ÷ 96.39 = 4.5%. Half suji takes the 5m from 8.0% to about half.
The 2m. Now the 34m waiting on 2-5 is furiten too, another 2.98%. What survives is 93.41%. The waits left on the 5m are the ones suji can't touch: kanchan, tanki, and shanpon, 1.36%.
1.36 ÷ 93.41 = 1.5%. Full suji leaves that 5m with about a fifth of its danger.
| Seen so far | Waits still live | Share left | 5m danger |
|---|---|---|---|
| Nothing | All six | 100% | 8.0% |
| 8m | 2-5, kanchan, tanki, shanpon | 96.39% | 4.5% |
| 8m and 2m | Kanchan, tanki, shanpon | 93.41% | 1.5% |
The same arithmetic runs for every number tile at full suji. Take the two-sided waits out, keep the rest.
| Tile | Before any read | Full suji | Still loses to |
|---|---|---|---|
| 1 or 9 | 4.1% | 0.8% to 0.9% | Tanki, shanpon |
| 2 or 8 | 5.3% | 1.7% to 1.8% | Kanchan, tanki, shanpon |
| 3 or 7 | 6.2% to 6.3% | 2.4% to 2.5% | Kanchan, , tanki, shanpon |
| 4, 5, or 6 | 7.8% to 8.0% | 1.3% to 1.5% | Kanchan, tanki, shanpon |
The 3 or 7 row is the one to remember. A suji 3 or 7 still loses to a penchan, so it keeps more of its danger than a full-suji 5. The suji guide lumps suji 2s, 3s, 7s, and 8s together. The model splits them: a suji 8 before a suji 7.
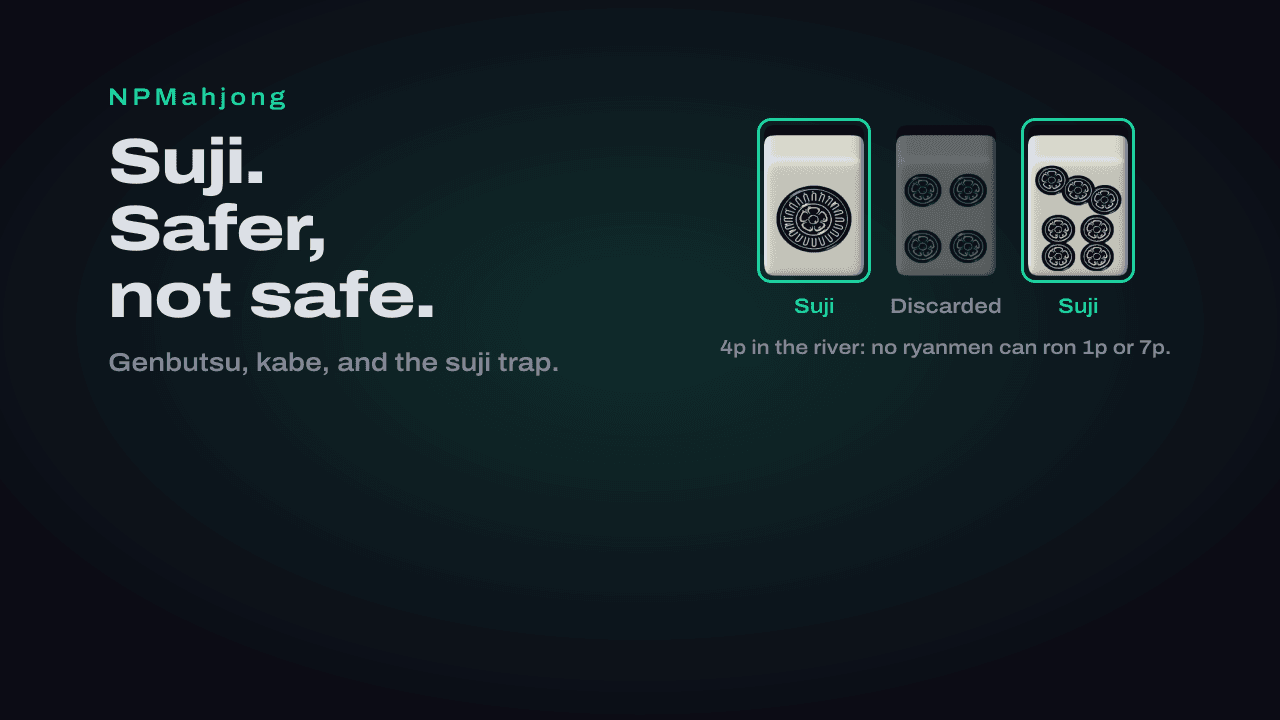
Traps and the full river push 1.5% up
The assumption doing all the work is that the river is neutral: a player waiting on a kanchan 5m is no more likely to have thrown the 2m and the 8m than anyone else. Statisticians call that probability the likelihood, P(river | wait). The simple model sets it equal for every wait it didn't rule out.
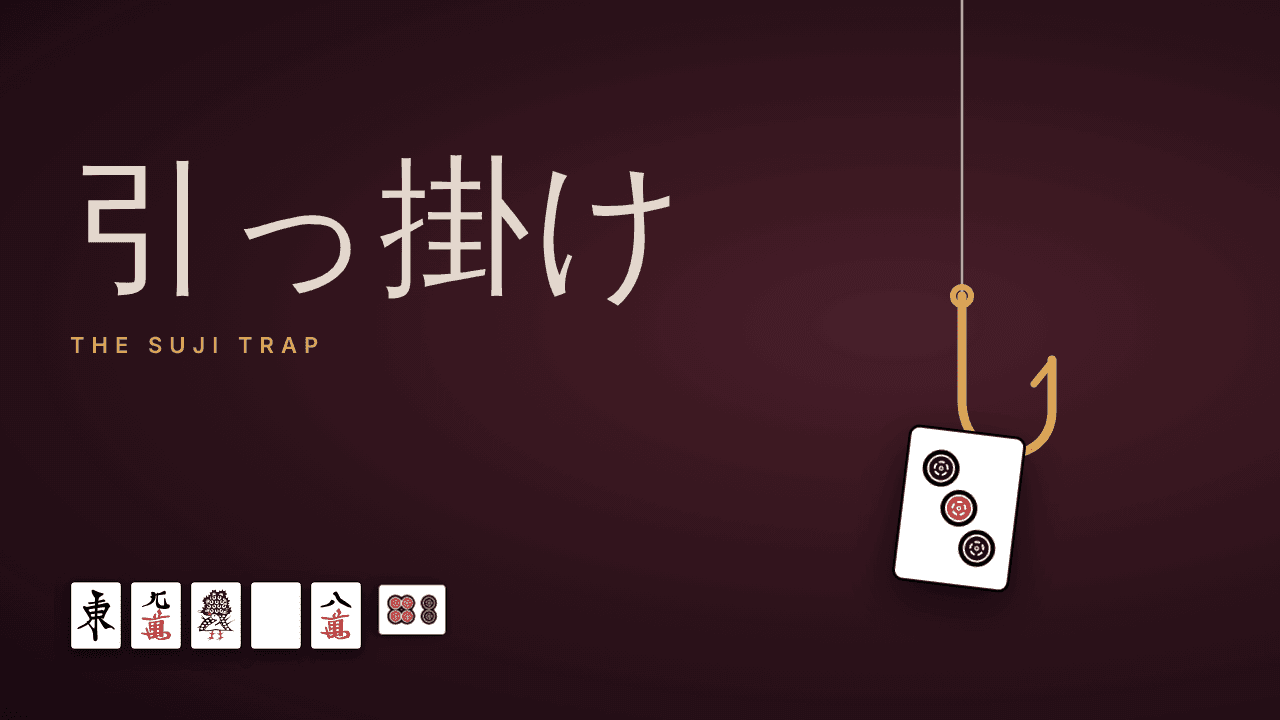
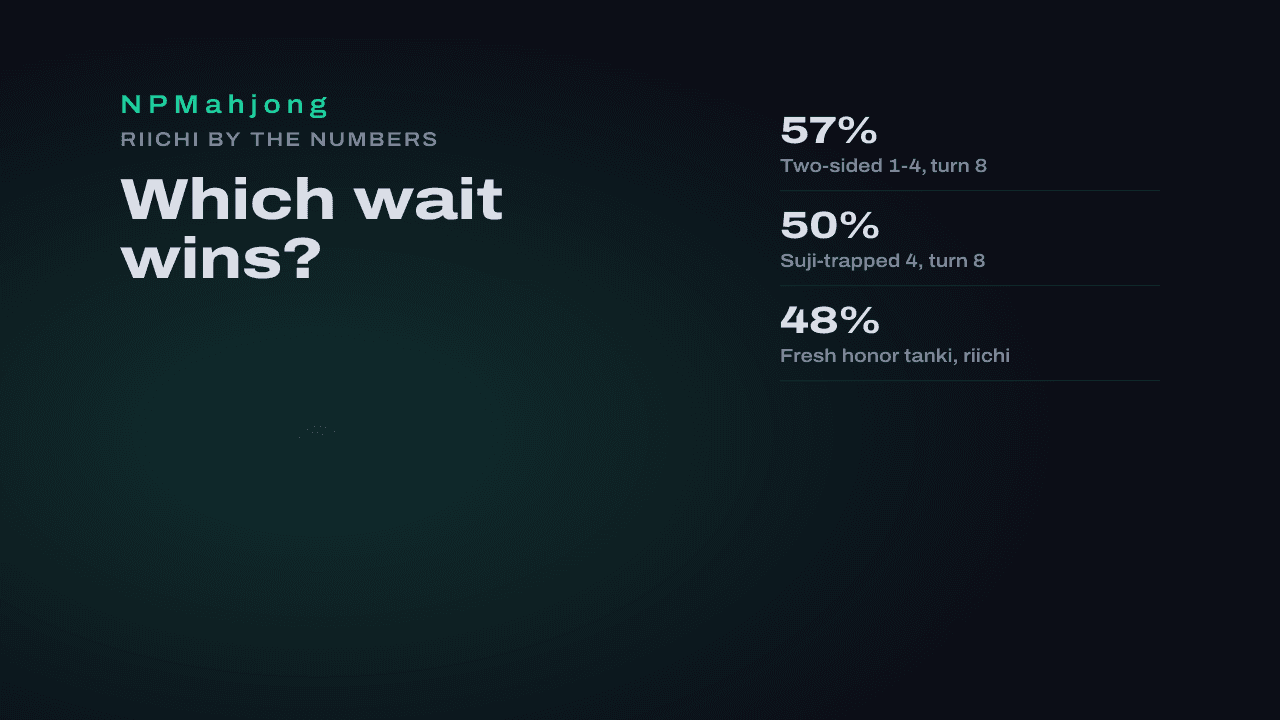
Players break that on purpose. A riichi on a single-tile wait whose suji tiles are already in the river is a suji trap, a . Riichi wait win rates shows what the trap is worth: at turn 8 (counted from zero), a single-tile wait on 5 wins 46% with the 2 and the 8 already discarded, against 33% plain.
Any player who builds that river on purpose makes the 2m and the 8m more likely under the kanchan, tanki, and shanpon hypotheses. That raises the likelihood for the exact waits that survive, and that pushes the real number above 1.5%. The data here can't say by how much. Read the table's suji column as a floor.
The trap has its own post. Suji traps and second-level thinking runs this calculation from the other chair, where the riichi player knows what you're computing.
The model also ignores most of the river. It only zeroes waits that could ron the 5m, but every discard rules out waits elsewhere too. North's 8m and 2m kill every other wait on those tiles, and the 9p, 4s, 7p, East, and South kill every wait on theirs. Zero all of them and about 70% of riichi hands survive, not 93%, and a few 5m shanpon go with them. What's left of the 5m's waits, over that smaller total, comes to about 1.7%. Same direction as the trap: the simple number is low.
It runs the other way too. Some evidence lowers a wait's likelihood without ruling it out. A player who cut a 4m early has one fewer 4m to build a 46m kanchan with; the dora danger post makes the same kind of read about a dora cut before . The model can't use that read. You can, as a tiebreak.
One riichi is one set of hypotheses. Against two riichi, every tile needs two updates, one per river, and a tile that's for one player can be fresh for the other.
And the base rates are Houou base rates. A table that riichis every tenpai, bad waits included, has fewer two-sided waits among its riichi hands. A table that keeps its bad waits quiet has more.
Say the base rate before you throw
Next session, every time you fold against a riichi, say two numbers before the tile leaves your hand.
- The base rate. Fresh middle tile: about 8%. Fresh terminal: about 4%. Dora: higher.
- What the river ruled out. Half suji on a 5: roughly half. Full suji: under 2% for a 4, 5, or 6, about 2.5% for a 3 or 7. : zero.
Then throw the tile with the smaller second number, and use the reads the model ignores, the early cuts and the trap-shaped rivers, to break ties.
A suji tile still deals in. The 5m went from 8% to 1.5%, and 1.5% is one in about 70 throws.

Look up the starting number for any number tile in the deal-in danger tool, then do the update yourself from the river. For the attacker's side, the wait win rate tool gives how often each wait wins by how many of its tiles you can see, from Path of Houou's work on Tenhou Houou logs.
Send me a game and I'll mark the folds where the second number said to throw something else.
Was this article helpful?