
You're folding against a , and you've thrown the last tile you held from their river. Two reads sort what's left: , which turns the riichi player's own discards against them, and , which counts every tile on the table. Neither one makes a tile safe. Each tells you which waits a tile can still lose to, and that's how you pick.
, the tiles that can't deal in, are the riichi player's own discards plus every tile that passed after their riichi (How to fold). Suji rests on : a player with one of their winning tiles in their own river can't win by at all (the tenpai and furiten lesson).
Suji: their discards rule out two-sided waits
A (two-sided wait) waits on two tiles three apart. wins on the 3p and the 6p, and on the 6p and the 9p. If the riichi player has discarded a 6p, both shapes are furiten, so neither can ron a 3p or a 9p. Those two tiles are suji (筋) of the 6p. Each suit splits into three suji lines: 1-4-7, 2-5-8, and 3-6-9.
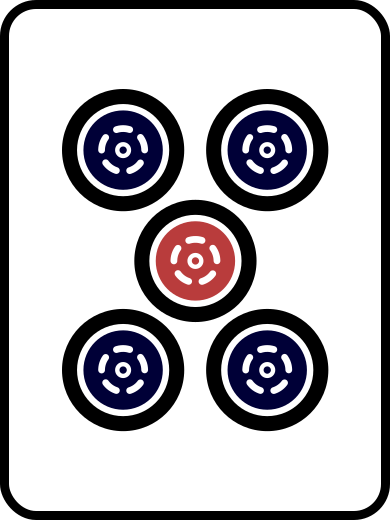
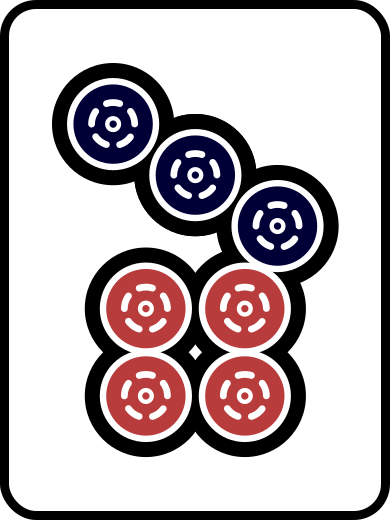
| Your tile | Ryanmen that win on it | Suji once their river has |
|---|---|---|
| 1 | 23 | the 4 |
| 2 | 34 | the 5 |
| 3 | 45 | the 6 |
| 4 | 23 and 56 | the 1 and the 7 |
| 5 | 34 and 67 | the 2 and the 8 |
| 6 | 45 and 78 | the 3 and the 9 |
| 7 | 56 | the 4 |
| 8 | 67 | the 5 |
| 9 | 78 | the 6 |
The 1, 2, 3, 7, 8, and 9 have one ryanmen each, so one discard covers them. A 4, 5, or 6 has two. It's full suji (nakasuji, 中筋) only when both outer tiles are in the river. With one of them, it's half suji (katasuji, 片筋), and the other ryanmen still wins on it.
Take this river from the : 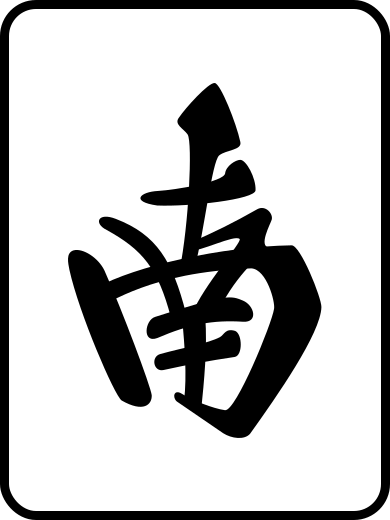
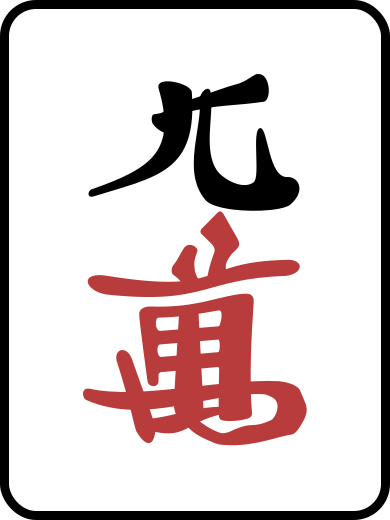
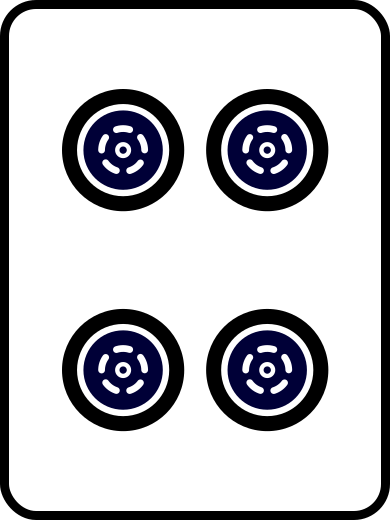
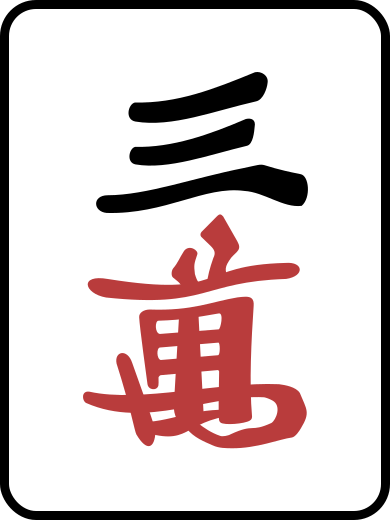
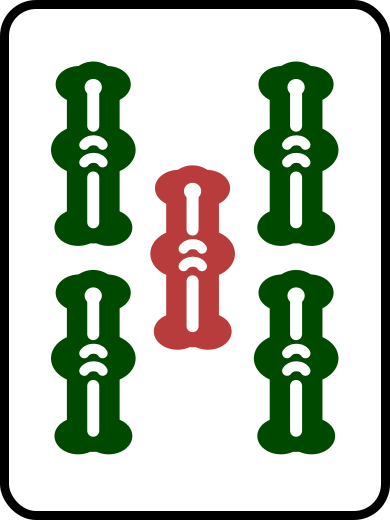
 . The 4p alone makes the 1p and the 7p suji. The 3m and the 9m together make the 6m full suji. The 1s covers only one side of the 4s: is dead, but still waits on it.
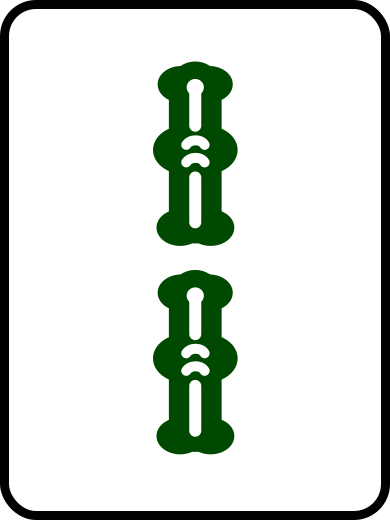
Only one river counts: the riichi player's, plus every tile they let pass after the riichi. Passing a winning tile after riichi leaves a player furiten for the rest of the hand, so those tiles work like their own discards. A 4 that someone else threw before the riichi tells you nothing about the 1 or the 7.
Every problem below has the same setup: you're 2-shanten, you've decided to fold, and nothing in your hand is genbutsu. Tap the tile you'd throw.
Turn 7. The player across declared riichi with the red dragon. Their river: West, 8s, 1p, 9m, 2s, red dragon.
You draw the 9p. Which tile do you throw?
Tap the tile you would choose.
Show the answerHide the answer
Fold with
The 5s. The 2s and the 8s are both in their river, so neither 34s nor 67s can win on it: it's full suji, left to a 46s , a , or a . The 4p and the 6m are only half suji, since 56p still waits on the 4p and 45m on the 6m. The 7p, 9p, and 9s have no read: 56p, 78p, or 78s still win on them.
What a suji tile still loses to
Suji rules out the ryanmen and the (three-sided wait) built from them. The other four basic waits ignore it: the kanchan (middle wait), (edge wait), tanki (single wait), and shanpon (pair wait).
- Suji 1 or 9: only a tanki or a shanpon. No kanchan or penchan waits on a terminal.
- Suji 2 or 8: a kanchan as well, on the 2p or on the 8p.
- Suji 3 or 7: a kanchan and a penchan, or on the 3p.
- Full-suji 4, 5, or 6: a kanchan, a tanki, or a shanpon.

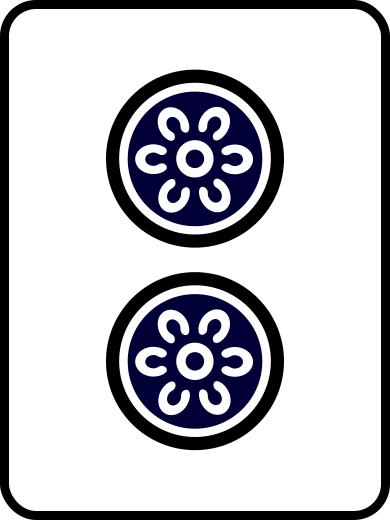
So your suji 1s and 9s go first. Suji still earns its place, because two-sided waits are the most common: in logs (Tenhou's top room) from 2016 to 2020, 59% of riichi hands waited on a ryanmen or a sanmenchan, and 37% on a kanchan, penchan, tanki, or shanpon. The suji guide has the breakdown.
Some of that 37% is built on purpose. A player holding 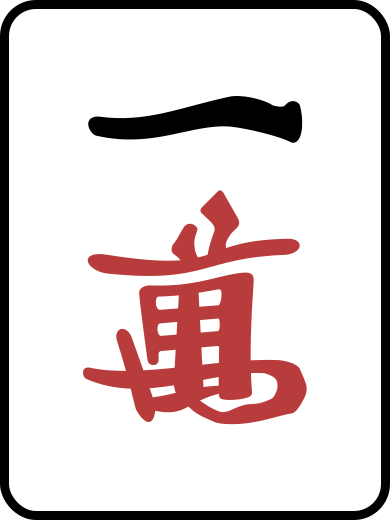
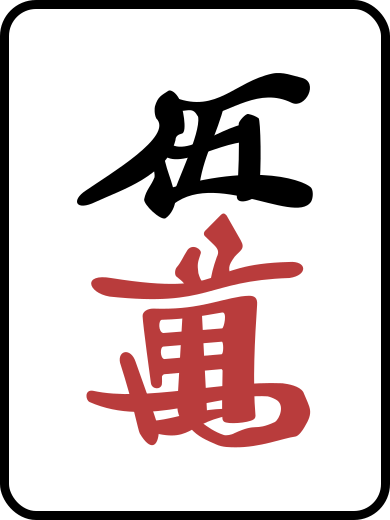 at can declare riichi with the 5m and wait on the 2m with a 13m kanchan. The 2m now looks like suji. That's a suji trap (), and this one sits on the suji of the riichi tile itself. Reading discards covers how to spot one.
Turn 7. The player across declared riichi with the 8p. Their river: North, 9m, 1p, 4s, 6m, 8p.
You draw the 7s. Which tile do you throw?
Tap the tile you would choose.
Show the answerHide the answer
Fold with
The 1s. It's suji of the 4s, and a terminal, so it loses only to a tanki or a shanpon. The 7s you drew and the 3m are suji too, but each loses to two more shapes: 68s or 89s on the 7s, 24m or 12m on the 3m. The 5p is only half suji: the 8p rules out 67p, and 34p still wins on it.
Kabe: count to four
Suji reads one river. Kabe (壁, wall) counts the copies of a number in view: your hand, all four rivers, open calls, and the indicator. At four, no opponent holds one, and any wait that needs one in hand is gone. Players call the tiles a wall protects (ノーチャンス).
Go back to the first table and strike every ryanmen that needs the walled number. These tiles are left with none:
| Four in view | No ryanmen left on |
|---|---|
| 2 | 1 |
| 3 | 1 and 2 |
| 4 | 2 and 3 |
| 5 | 3 and 7 |
| 6 | 7 and 8 |
| 7 | 8 and 9 |
| 8 | 9 |
A wall covers only what the table lists. With four 4p in view, still waits on the 1p and on the 5p. The walled tile itself isn't covered either: nobody else can hold a 4p, but 23p or 56p can still win on one.
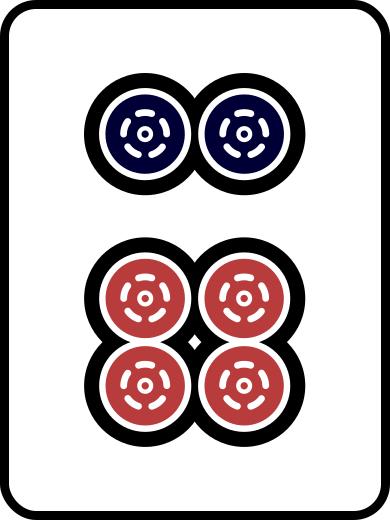
A wall also kills every kanchan built with the walled number. With four 3s in view there's no 13 kanchan, so the 1 and the 2 lose only to a tanki or a shanpon, the same short list as a suji terminal. Four 7s do the same for the 8 and the 9. Other walls leave gaps: with four 4s in view, a 12 penchan still waits on the 3.
Walls and suji add up. A 6 has two ryanmen, 45 and 78. A 3 in the riichi river kills 45, and four visible 7s or 8s kill 78. Between them, the 6 has no ryanmen left, like a full-suji tile. With four 7s it's better still: the 57 kanchan dies too, and only a tanki or a shanpon is left.
Three copies in view is one-chance (). The fourth can still be in the riichi hand. Count a one-chance tile as less likely to deal in, never as safe, and trust it less as the hand goes on: the fewer tiles left unseen, the bigger the share of them in the riichi player's 13.
Turn 7. The player across declared riichi with the white dragon. Their river: West, 1m, 9s, 6s, 2p, white dragon. Before the riichi, one 7p went into the left player's river and one into the right player's.
You hold the other two 7p. Which tile do you throw?
Tap the tile you would choose.
Show the answerHide the answer
Fold with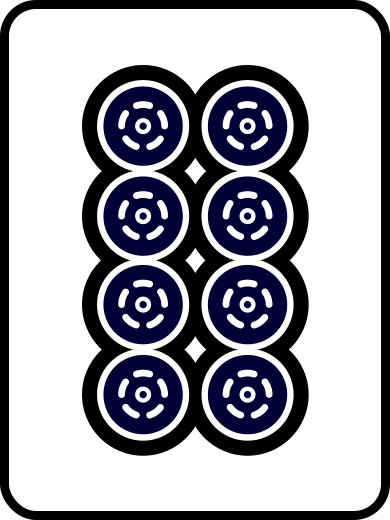
The 8p. All four 7p are in view, so neither a 67p ryanmen nor a 79p kanchan can exist, and the 8p loses only to a tanki or a shanpon. The 3s is suji of the 6s but still loses to 24s or 12s. The wall doesn't cover your 7p, which 56p, 68p, or 89p can still win on. Nor does it cover the 6p, where 45p still waits.
A folding tool, not a reason to push
Out of genbutsu, rank your tiles by what each one still loses to. Among number tiles, a suji 1 or 9 comes first. Other suji and kabe tiles come next, those left only to a tanki or a shanpon ahead of those a kanchan or penchan can still hit. Half-suji 4, 5, and 6, one-chance tiles, and tiles with no read come last. The safety ladder adds the honors and puts every tile on one scale.
Read the rivers again every turn. Each new tile in the riichi river, and each tile that passes, adds suji.
None of this makes a tile safe enough to push a weak hand. Suji only speaks to the 59%, and a hand in the other 37% can still sit on your suji tile, some on purpose. The push or fold calculator shows how much the class of tile you'd cut moves the verdict, and Push or fold comes later in the course.
Practice
Turn 7. The player across declared riichi with the 3m. Their river: North, green dragon, 8m, 2s, 9p, 3m. Before the riichi, the player on your left discarded a 4p. Right after the riichi, the same player threw a 6s with no ron.
You draw the 8s. Which tile do you throw?
Tap the tile you would choose.
Show the answerHide the answer
Fold with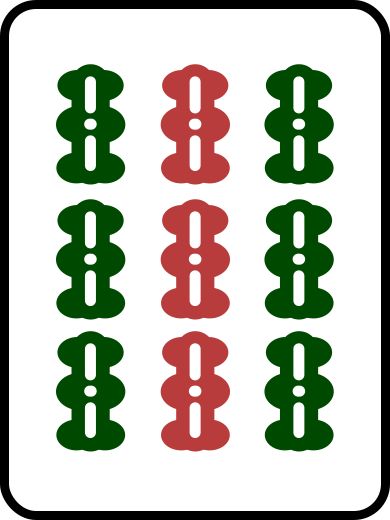
The 9s. The 6s passed after the riichi, so it works like their own discard: a 78s would be furiten, and the 9s loses only to a tanki or a shanpon. Cutting the 8s keeps your hand widest, but nothing covers it: 67s or 79s can still win on it. The 1p only looks like suji: that 4p came before the riichi, so 23p can still win on it. The 3s, suji of the same 6s, still loses to 24s or 12s.
Turn 7. The player across declared riichi with the green dragon. Their river: South, 2m, 9s, 1p, 5p, green dragon. Before the riichi, the left player and the right player each discarded a 6m.
You draw the 4s. Which tile do you throw?
Tap the tile you would choose.
Show the answerHide the answer
Fold with
The 5m. The 2m in their river makes 34m furiten, and with all four 6m in view, nobody can hold 67m or the 46m kanchan. That leaves a tanki or a shanpon, which beats the suji 8p: it still loses to 79p. The wall covers the 7m too, but 89m still waits on it. Your 6m are the last copies, so no tanki or shanpon waits on them, but 45m, 78m, and 57m still do.
Check the tile you'd cut
The push or fold calculator takes the seats, your hand shape and value, the stage of the hand, and the class of tile you'd cut, from genbutsu down to a non-suji 4, 5, or 6. It shows how far that class moves the verdict.
Open the push or fold calculator