
What's on the table
Riichi mahjong is a four-player game, one player on each side of a square table. Before the first hand you need:
- A set of 136 tiles, the one you met in the tiles.
- Two dice.
- Each player's point sticks (点棒 tenbou).
- A marker that shows who dealt first and which round you're in. You'll see what it's for later in this chapter.
In a Japanese parlor the automatic table handles almost all of this. Learn to do it by hand anyway. That's the job the machine does for you, and at an ordinary table you'll need it.
The seats
From your seat, each of the other three players has a name:
- Kamicha (上家): the player on your left. They play right before you.
- Toimen (対面): the player across from you.
- Shimocha (下家): the player on your right. They play right after you.
Play runs counterclockwise, from each player to the one on their right. Almost everything in mahjong counts in that direction: the turns, the order of the winds, the dice. The exception is the wall. You draw from it clockwise, as you'll see later in this chapter.
Seat winds
Each player holds one of the four winds: East, South, West, or North. That's their seat wind (自風 jikaze, "own wind").
East is the dealer (親 oya, "parent"). The other three are non-dealers (子 ko, "child"). The dealer deals the tiles, discards first, collects more on a win, and pays more when someone else wins by tsumo.
The winds go East, South, West, North, counterclockwise. If the dealer is East, the player on their right is South, the player across is West, and the player on their left is North.
Seat winds aren't fixed. They rotate during the game, every time the deal passes to the next player. To find yours, find the dealer and count from them: East, South, West, North. Across from the dealer, you're West. On their left, you're North. After a couple of games you'll see it without counting.
Drawing for seats
The simplest way: put the four winds face down on the table, mix them, and have each player take one. That's their starting wind. Whoever draws East sits anywhere, and the others sit down from there in the order East, South, West, North.
Rounds, hands, and games
A game has two rounds: the East round and the South round. This two-round game is a hanchan (半荘, "half game"). The name comes from Chinese mahjong, which plays four rounds: East, South, West, and North. Riichi plays half of that.
Every player deals at least once in each round. Each deal is one hand (局 kyoku). So a round has at least four hands, and a hanchan at least eight.
The deal moves like this:
- If the dealer wins the hand, they stay dealer and deal again. That's renchan (連荘). The same happens when the hand ends with no winner and the dealer was one tile from winning. You'll see it in the end of a hand.
- If another player wins, the deal passes to the dealer's right. That player is now East, the next one is South, and so on.
When the fourth dealer of the East round loses the deal, the South round starts. The game's first dealer deals again, and their seat wind is East once more. When the fourth dealer of the South round loses the deal, the game is over. You count the points and see who won.
The marker on the table is the first-dealer marker (起家マーク chiicha maaku). It has 東 (East) on one side and 南 (South) on the other. The game's first dealer puts it on their right, and it stays there all game. It flips over when the South round starts.
Naming each hand
Each hand takes its name from its round and its number. The number counts changes of dealer, so a hand repeated by renchan keeps its number.
| Hand | Japanese | Reading |
|---|---|---|
| East 1 | 東一局 | ton ikkyoku |
| East 2 | 東二局 | ton nikyoku |
| East 3 | 東三局 | ton sankyoku |
| East 4 | 東四局 | ton yonkyoku |
| South 1 | 南一局 | nan ikkyoku |
| South 2 | 南二局 | nan nikyoku |
| South 3 | 南三局 | nan sankyoku |
| South 4 | 南四局 | nan yonkyoku |
The last hand of the game also goes by oorasu (オーラス, from the English all last). In a hanchan it's South 4. In a tonpuusen it's East 4.
You don't need these names to play. You'll hear them at any Japanese table and on every broadcast, though.
Round wind and seat wind
Besides your seat wind, each round has a round wind (場風 bakaze): East during the East round, South during the South round.
Both matter because of the wind tiles. A triplet of your seat wind is worth 1 han, and a triplet of the round wind is worth 1 han to anyone. Han is the unit that measures what a hand is worth; you'll meet it in scoring. These triplets are a yaku, one of the patterns that let you win. The yaku chapter has them all, and the site has a full guide to yakuhai.
During the East round, the dealer's seat wind is East too. A dealer who collects three East tiles gets 2 han: one for the seat wind and one for the round wind. That's a double wind. In the South round the double wind isn't the dealer's. It belongs to the player in the South seat, because South is both their seat wind and the round wind.
Starting points
Every player starts with 25,000 points. That's the standard on Tenhou, Mahjong Soul, the M-League, and in Japanese parlors. At the end you count against 30,000, the return. You'll see how in scoring.
You keep score with point sticks. Each stick has a value:
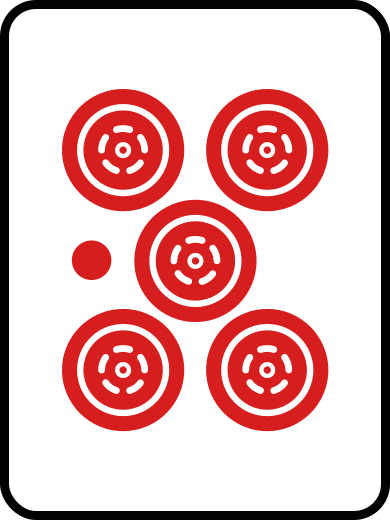
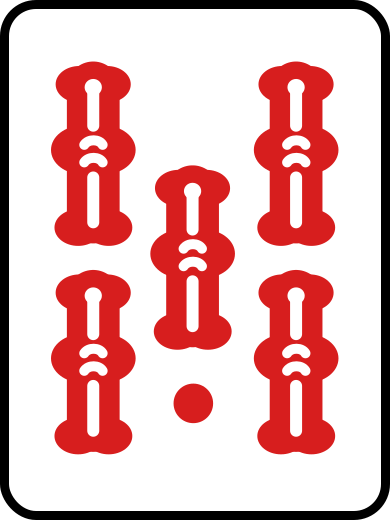
- 10,000: for big payments. The design varies by maker; the standard Japanese stick has five red dots with two black dots on each side.
- 5,000: for mid-sized payments. Five red dots.
- 1,000: for payments and for declaring riichi. One red dot.
- 100: for small payments and for counting honba. Eight black dots.
| Stick | Value | Count | Points |
|---|---|---|---|
| 10,000 | × 1 | 10,000 | |
| 5,000 | × 2 | 10,000 | |
| 1,000 | × 4 | 4,000 | |
| 100 | × 10 | 1,000 | |
| Total | 17 sticks | 25,000 | |
The 25,000 start breaks down into 1 stick of 10,000, 2 of 5,000, 4 of 1,000, and 10 of 100. For a 30,000 start, add five more 1,000 sticks: nine in all.
Building the wall
Mahjong has no deck. You draw your tiles from a wall (山 yama, "mountain").
At the start of each hand, all the tiles go face down in the middle of the table and get mixed. Then each player builds a row of 17 stacks of 2 tiles in front of them: 34 tiles each, 136 in all. The four rows push together into a square, tiles face down.
- Dead wall (7 stacks, 14 tiles)
- Dora indicator
- Break
- Dealing and drawing (clockwise)
Building the wall is slow at first. With practice it goes fast. It doesn't have to be perfect. A straight, tight wall keeps tiles from falling, lets everyone reach to draw, and keeps the game moving.
Breaking the wall
With the wall built, you decide where it opens. That settles two things: where the dead wall and the dora sit, and where the drawing starts.
The dealer rolls both dice and counts the total counterclockwise, starting with themselves as 1. The player the count lands on owns the wall that breaks:
| Dice total | Wall that breaks |
|---|---|
| 5 or 9 | The dealer's |
| 2, 6, or 10 | The player on the dealer's right (South) |
| 3, 7, or 11 | The player across (West) |
| 4, 8, or 12 | The player on the dealer's left (North) |
On that wall, count as many stacks as the dice show, from the right end of the wall as its owner sees it. Open a small gap there.
Say you roll a 9. The wall is the dealer's own, so the dealer counts nine stacks from the right of their wall and splits it there.
Simulator
You rolled 3 + 4 = 7. Counting counter-clockwise from the dealer (1), 7 lands on your toimen (West): that wall breaks 7 stacks from its right end. Dora indicator: top of the 3rd stack from the break, stack 5 of West's wall.
- Dead wall (7 stacks, 14 tiles)
- Dora indicator
- Break
- Dealing and drawing (clockwise)
The dead wall
The 7 stacks to the right of the gap (14 tiles) make up the dead wall (王牌 wanpai, "king's tiles"). If the dice show less than 7, there aren't enough stacks to the right of the gap, so the dead wall carries on around the corner into the next wall.
Nobody draws those 14 tiles in normal play. Everything else is the live wall.
Counting from the gap, the dead wall works like this:
- The first two stacks (four tiles) are the replacement tiles (嶺上牌 rinshanpai). The player who declares a kan draws one, as you'll see in the turn.
- The third stack holds the dora indicator (ドラ表示牌 dora hyoujihai): you turn its top tile face up, and it stays face up for the whole hand.
- The next stacks hold the indicators that turn over with each kan, one per kan, always in the next stack, moving away from the gap.
The replacement tiles come off in this order: the top of the end stack, then the bottom of that stack, then the top of the next stack, and last its bottom. Many players set the first replacement tile down on the table, right next to its stack, as soon as the wall breaks. That way it can't fall and nobody sees it by accident.
You touch the dead wall for three things only: to draw a replacement tile after a kan, to turn over a dora indicator, and to check the ura dora when a riichi player wins. When the live wall runs out, the hand is over. You never keep drawing from the dead wall.
The dead wall always holds 14 tiles. Each time someone draws a replacement tile, the last tile of the live wall moves over to the dead wall. Put another way: every kan makes the hand end one tile sooner.
Dora
The dora (ドラ) is a bonus tile. Each copy in your winning hand adds 1 han. Dora isn't a yaku: it only counts once your hand has one.
Chinese mahjong pays extra for flowers and seasons. Riichi doesn't use those tiles. Its bonus is the dora.
The dora is the tile after the indicator, in the same suit:
- Numbers: the next number. If the indicator is the 2 sou, the dora is the 3 sou. If the indicator is a 9, the dora is the 1 of the same suit.
- Dragons: white, green, red, and back to white. With the white dragon as indicator, the dora is green. With red, it's white.
- Winds: East, South, West, North, and back to East. With East as indicator, the dora is South. With North, it's East.
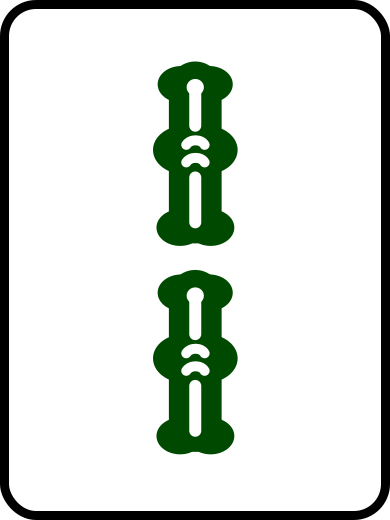
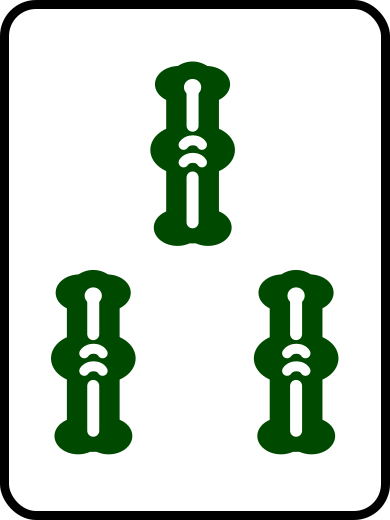
Dora finder
Pick the dora indicator:
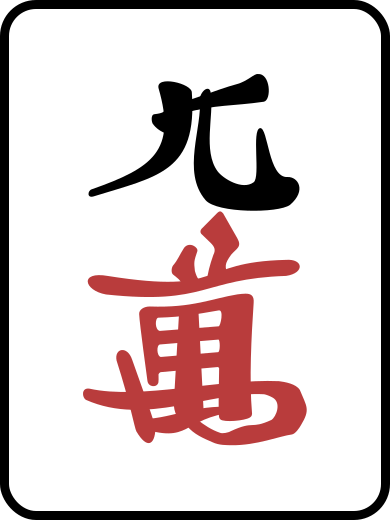
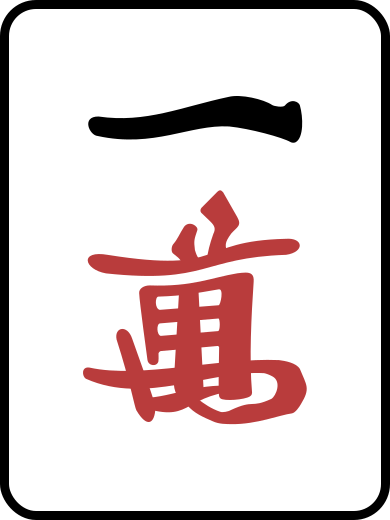
Indicator: 9 man. Dora: 1 man. After 9 it wraps back to 1. Each 1 man in your hand when you win adds 1 han.
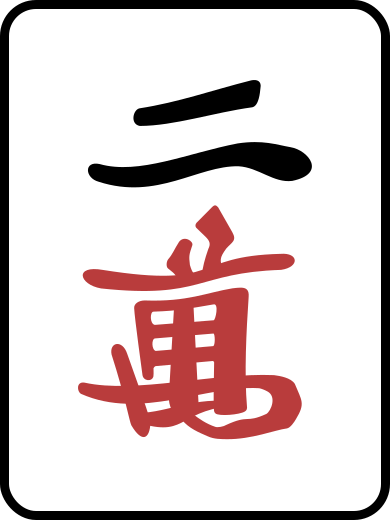
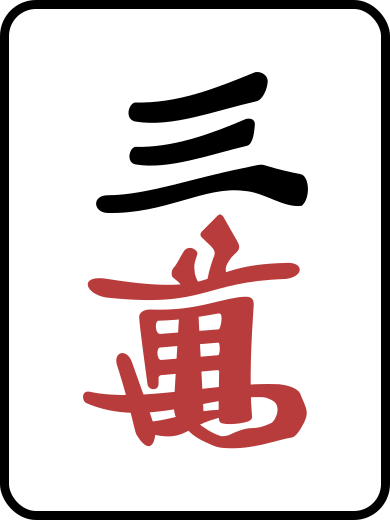
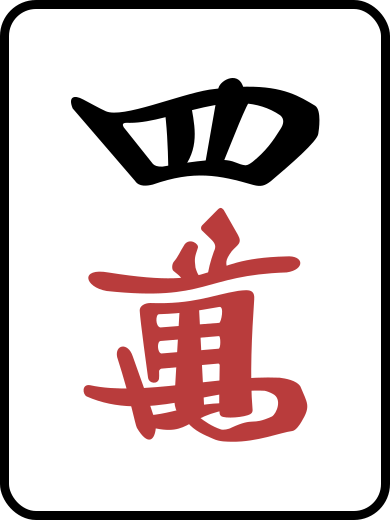
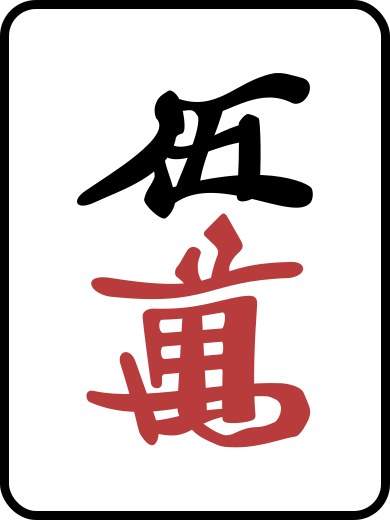
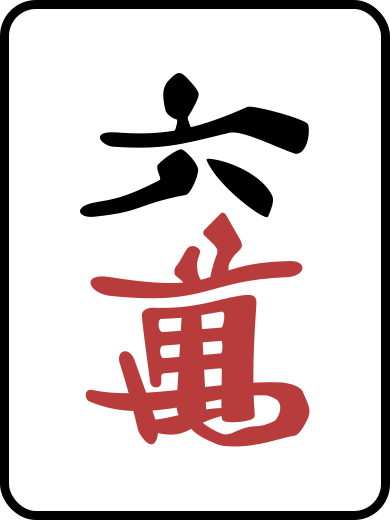
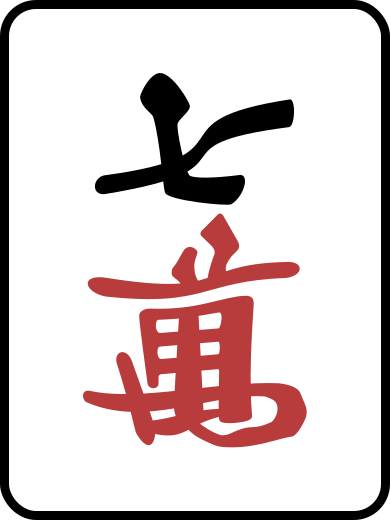
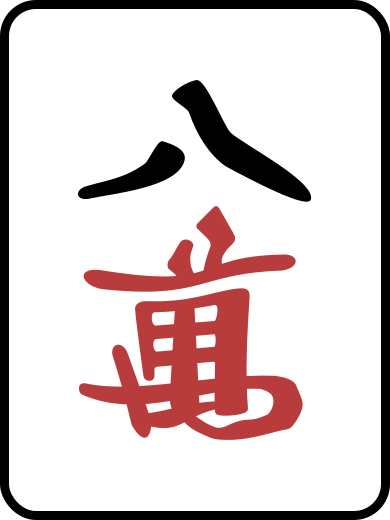
A red 5 as the indicator counts as a 5: the dora is the 6.
The indicator itself isn't dora. It does take one copy of that tile out of play: with the 2 sou from the example showing, only three are left to draw. The site's dora guide goes deeper, with how dora move your score.
Kan dora and ura dora
Each kan turns over one more indicator in the dead wall. The tile it points at is the kan dora (槓ドラ kandora, also 新ドラ shindora, "new dora"). It counts for every player, not only the one who called the kan. When it turns over is in the section on kan.
When a player who declared riichi wins, they turn over the tile under each indicator. Those tiles are ura dora indicators (裏ドラ, "underside dora"), and you read them like the normal indicator. They count only for the riichi winner.
Five indicators at once almost never happens. It takes four kans, and on Tenhou and Mahjong Soul four kans between two or more players cancel the hand, as you'll see in abortive draws. One indicator is normal, sometimes two or three.
A basic strategy is to build simple hands with several dora. That's why discarding a dora hands value to another player and can be dangerous, even when it's no use to you. Dora is a bonus, not an obligation.
Red fives
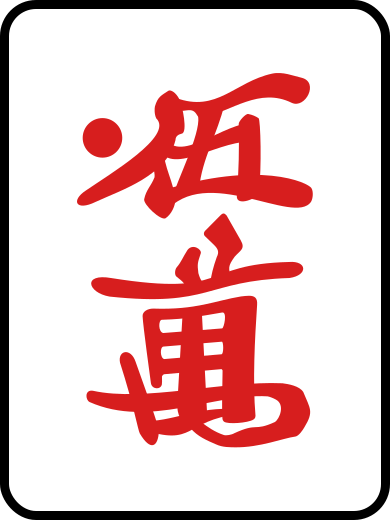
Almost every modern ruleset plays with red fives (赤ドラ akadora): a 5 man, a 5 pin, and a 5 sou painted red. Each one is a dora by itself, whatever the indicator shows. If the indicator is also a 4 of that suit, the red five is worth 2 han.
Dealing the tiles
Every player starts with 13 tiles. The dealer starts with 14, because the first turn is theirs: they don't draw, they discard one right away. From then on, each turn you draw a tile and discard a tile, like in rummy. Your winning hand has 14 tiles: your 13 plus the one that completes it.
The deal goes like this:
- The dealer takes the four tiles (two stacks) just to the left of the gap.
- South takes the next four, then West, then North. You take tiles clockwise, following the wall.
- Repeat twice more. Everyone now has 12 tiles.
- The dealer takes two single tiles: the top of the first stack and the top of the third. That's the "jump" (チョンチョン chonchon).
- South takes the bottom of the first stack, West the top of the second, and North the bottom of the second.
The dealer ends up with 14 tiles and everyone else with 13. The bottom tile of the third stack is the first draw of the game: South takes it on their first turn.
The live wall gets used up clockwise, toward the dead wall. So the last tiles of the live wall sit right on the far side of the dead wall, as if they carried on into it. The last tile anyone draws is the one just before the dead wall's 14.
With the hands dealt, everyone sorts their tiles and the dealer makes the first discard. The game is on, and that's the turn.